Router Trouble Shooting
Common CNC Router issues and how to fix them.
Spindle spinning backwards
-

Your spindle should be spining clockwise if you were looking from the top down
-
NOTE:
If your spindle is spinning counter clockwise you will get:
Rough cuts, burnt cuts, broken bits. -
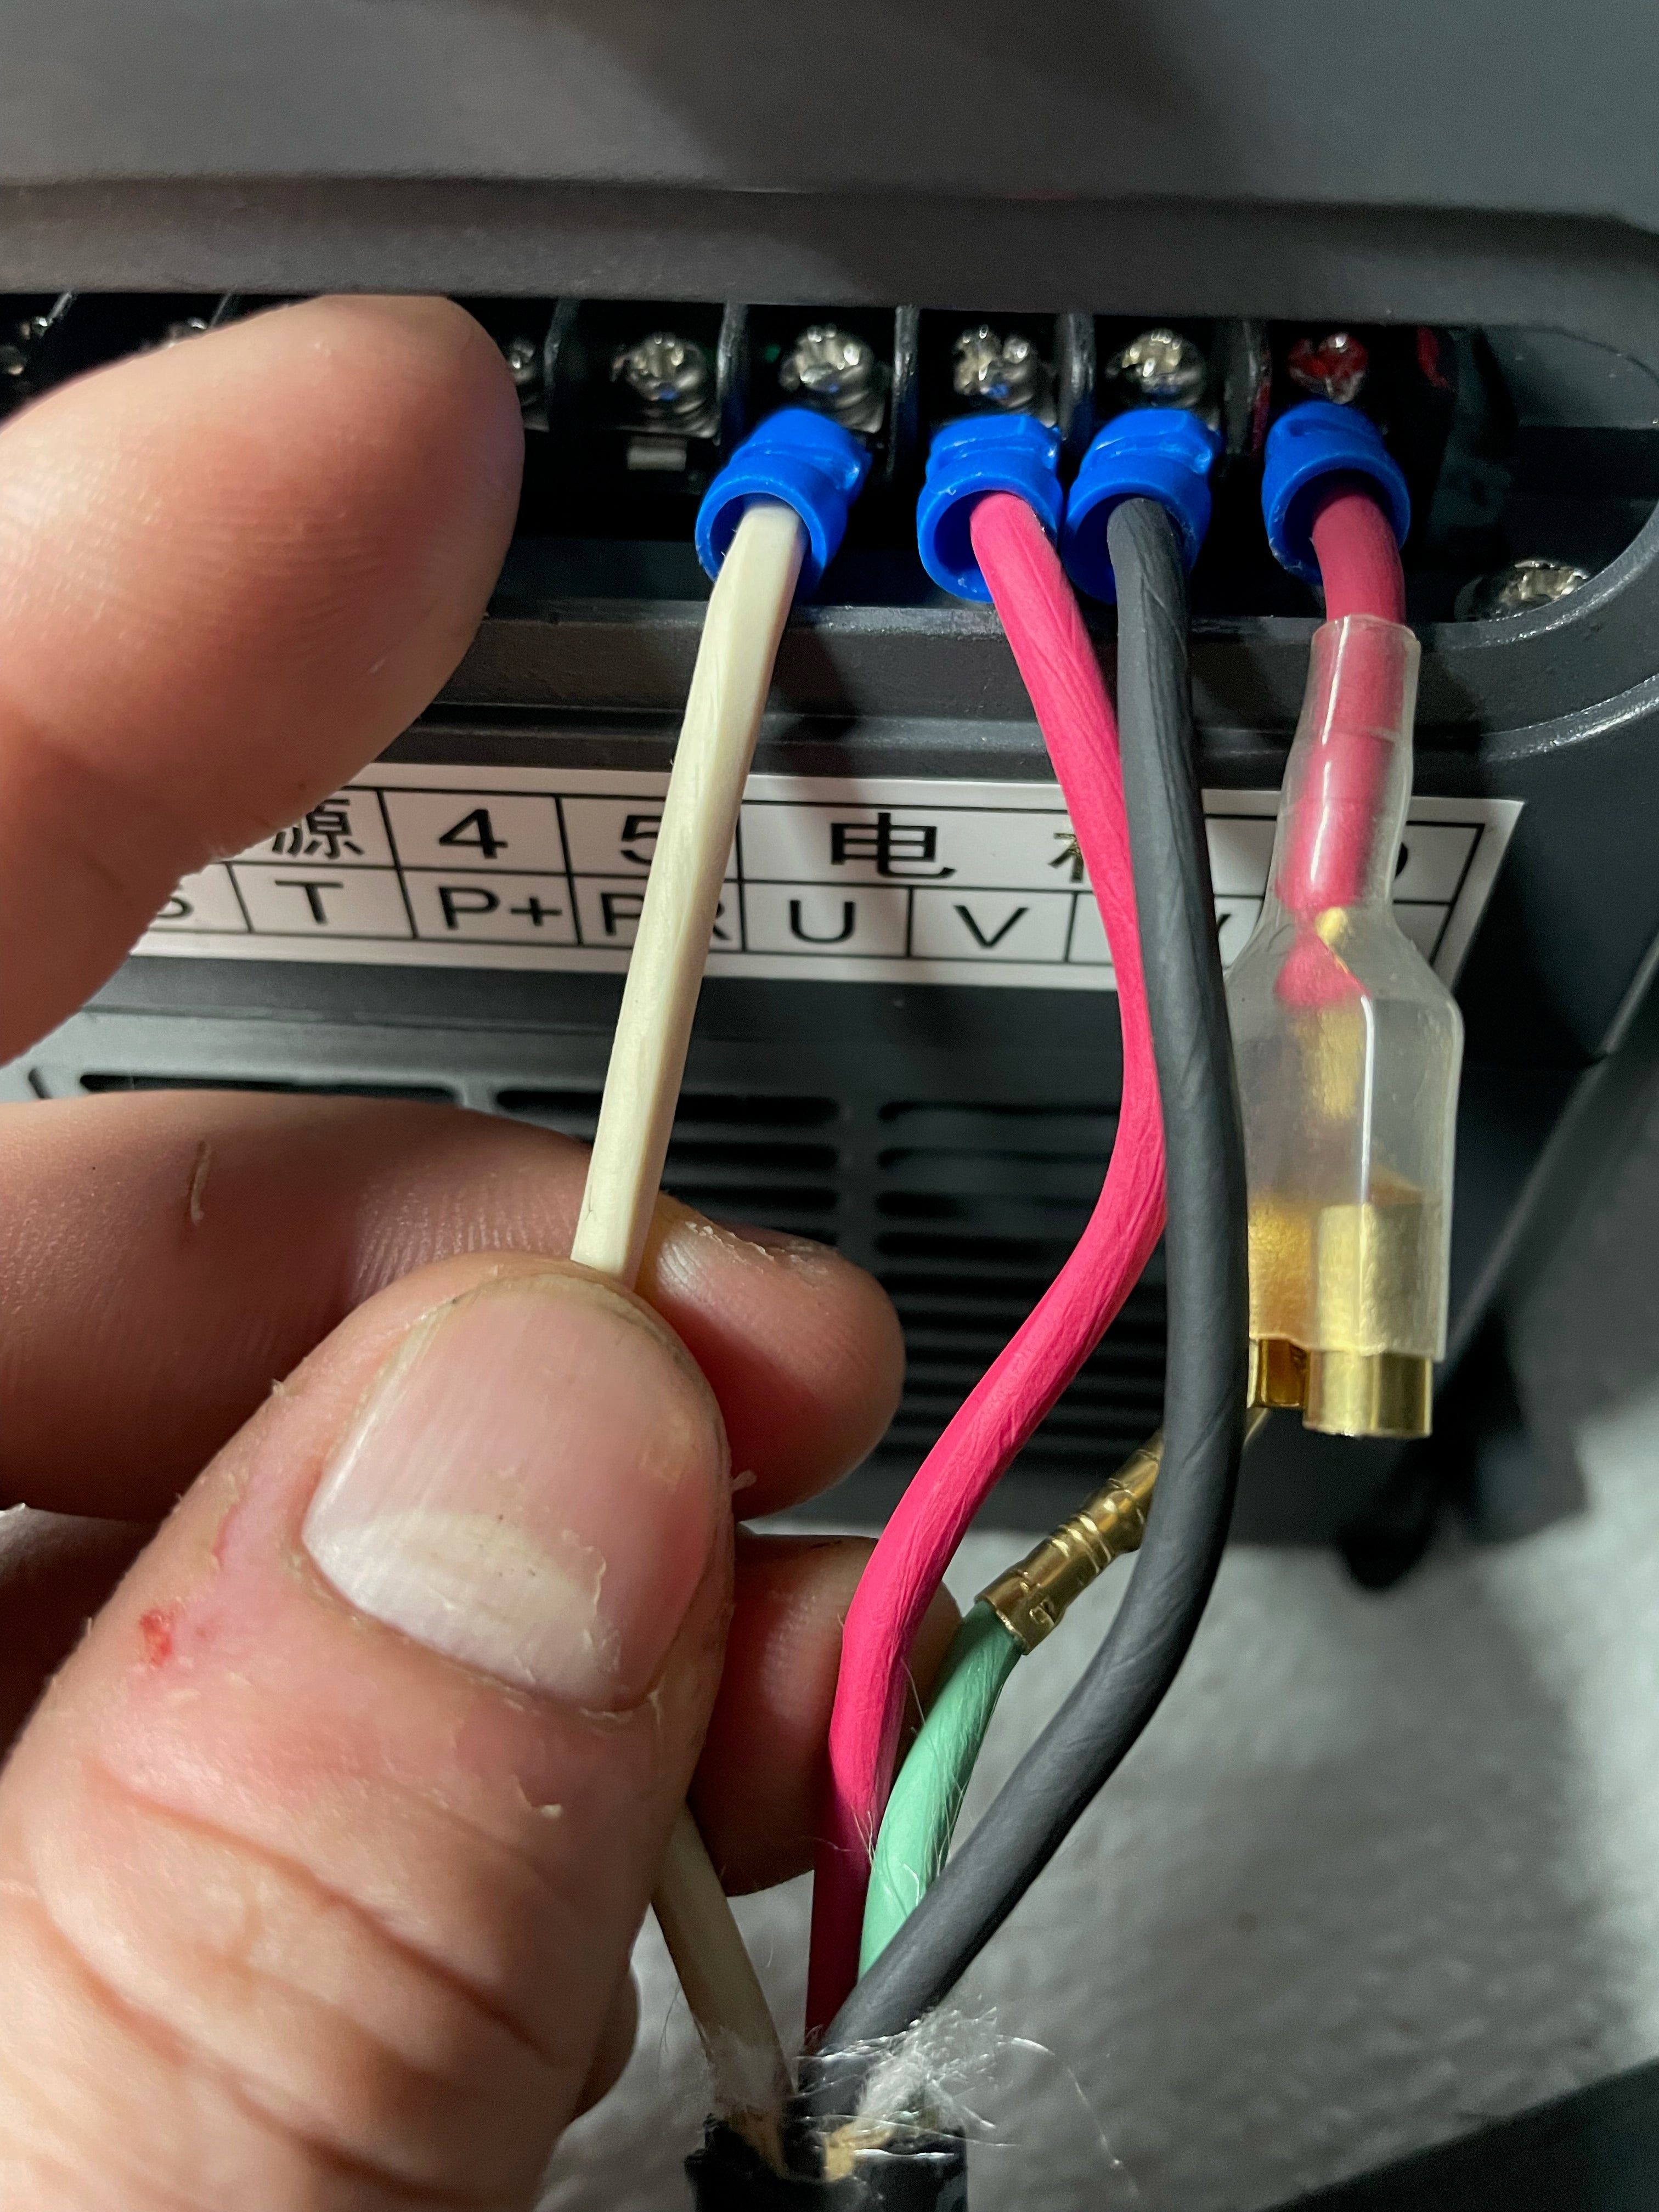
How to fix this
On your VFD, swap the wires U and V


One motor isn't moving
-
Check if a motor has faulted out
-
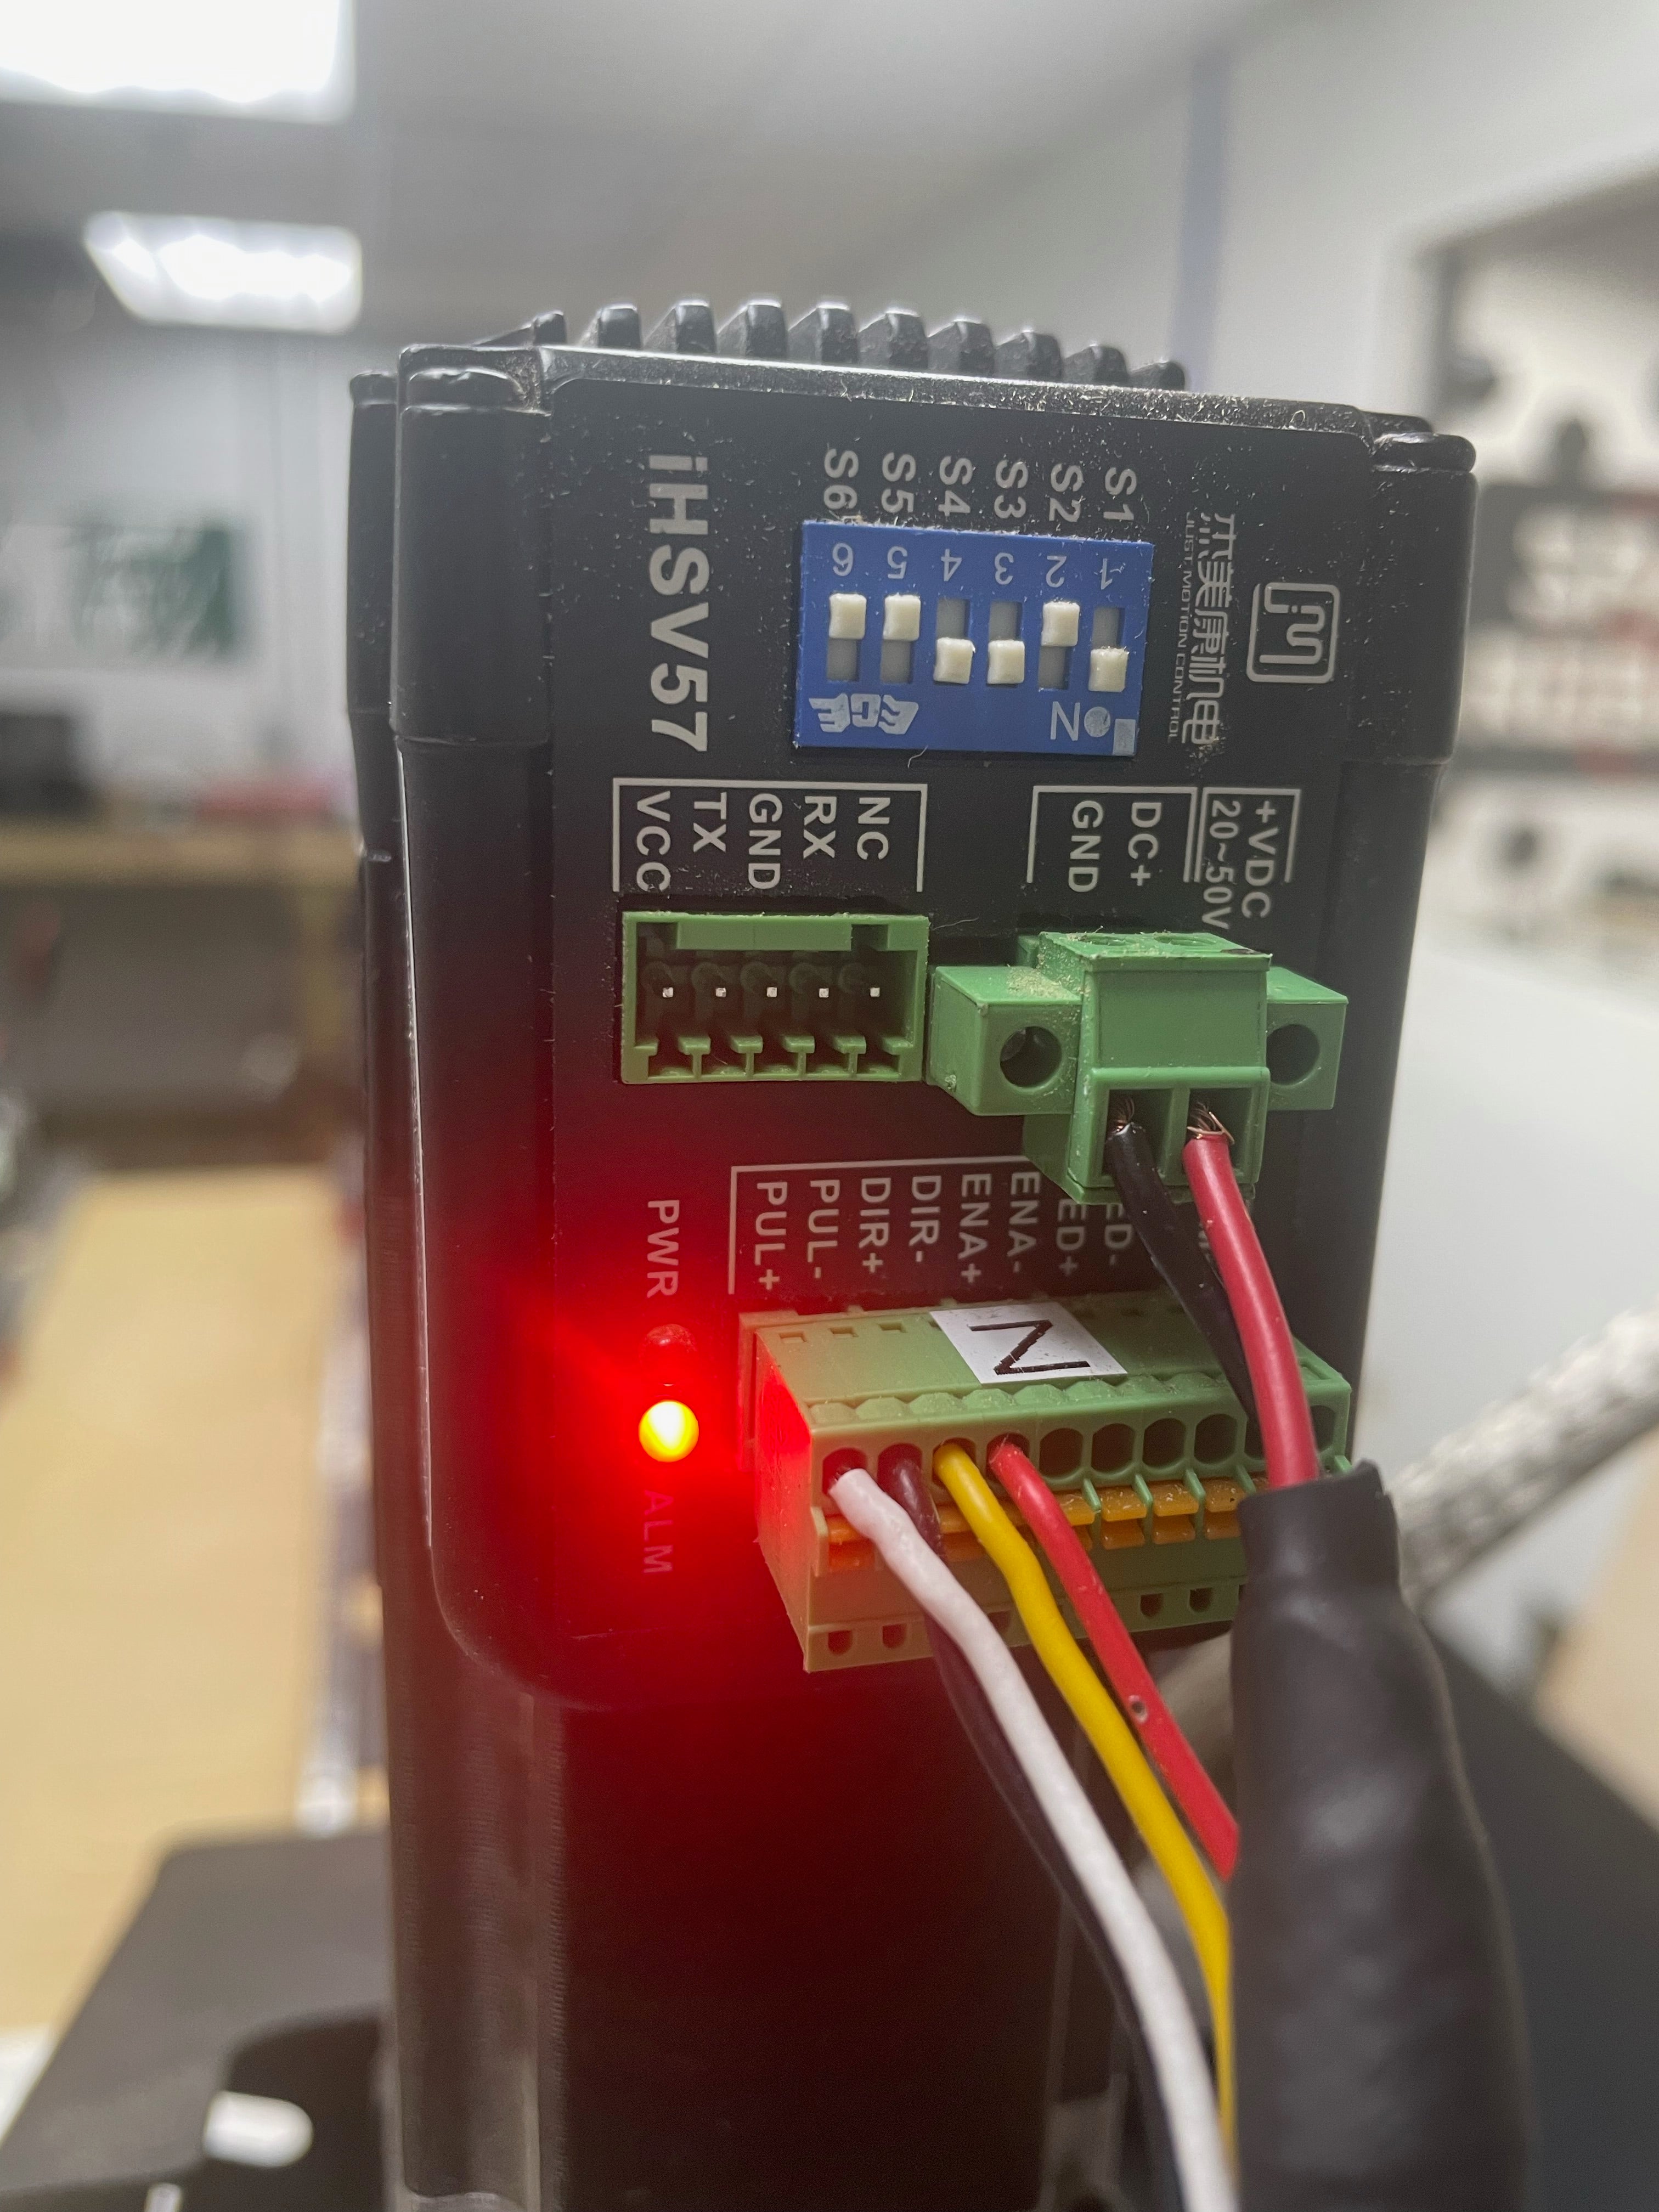
NOTE
** If your motor has faulted out, there will be a red light flashing on the servo. To fix this, turn the control box off for 3 seconds and turn it back on. This will reset the servo. If this does not fix your inactive single axis, see if you hit a soft limit in the software.
-
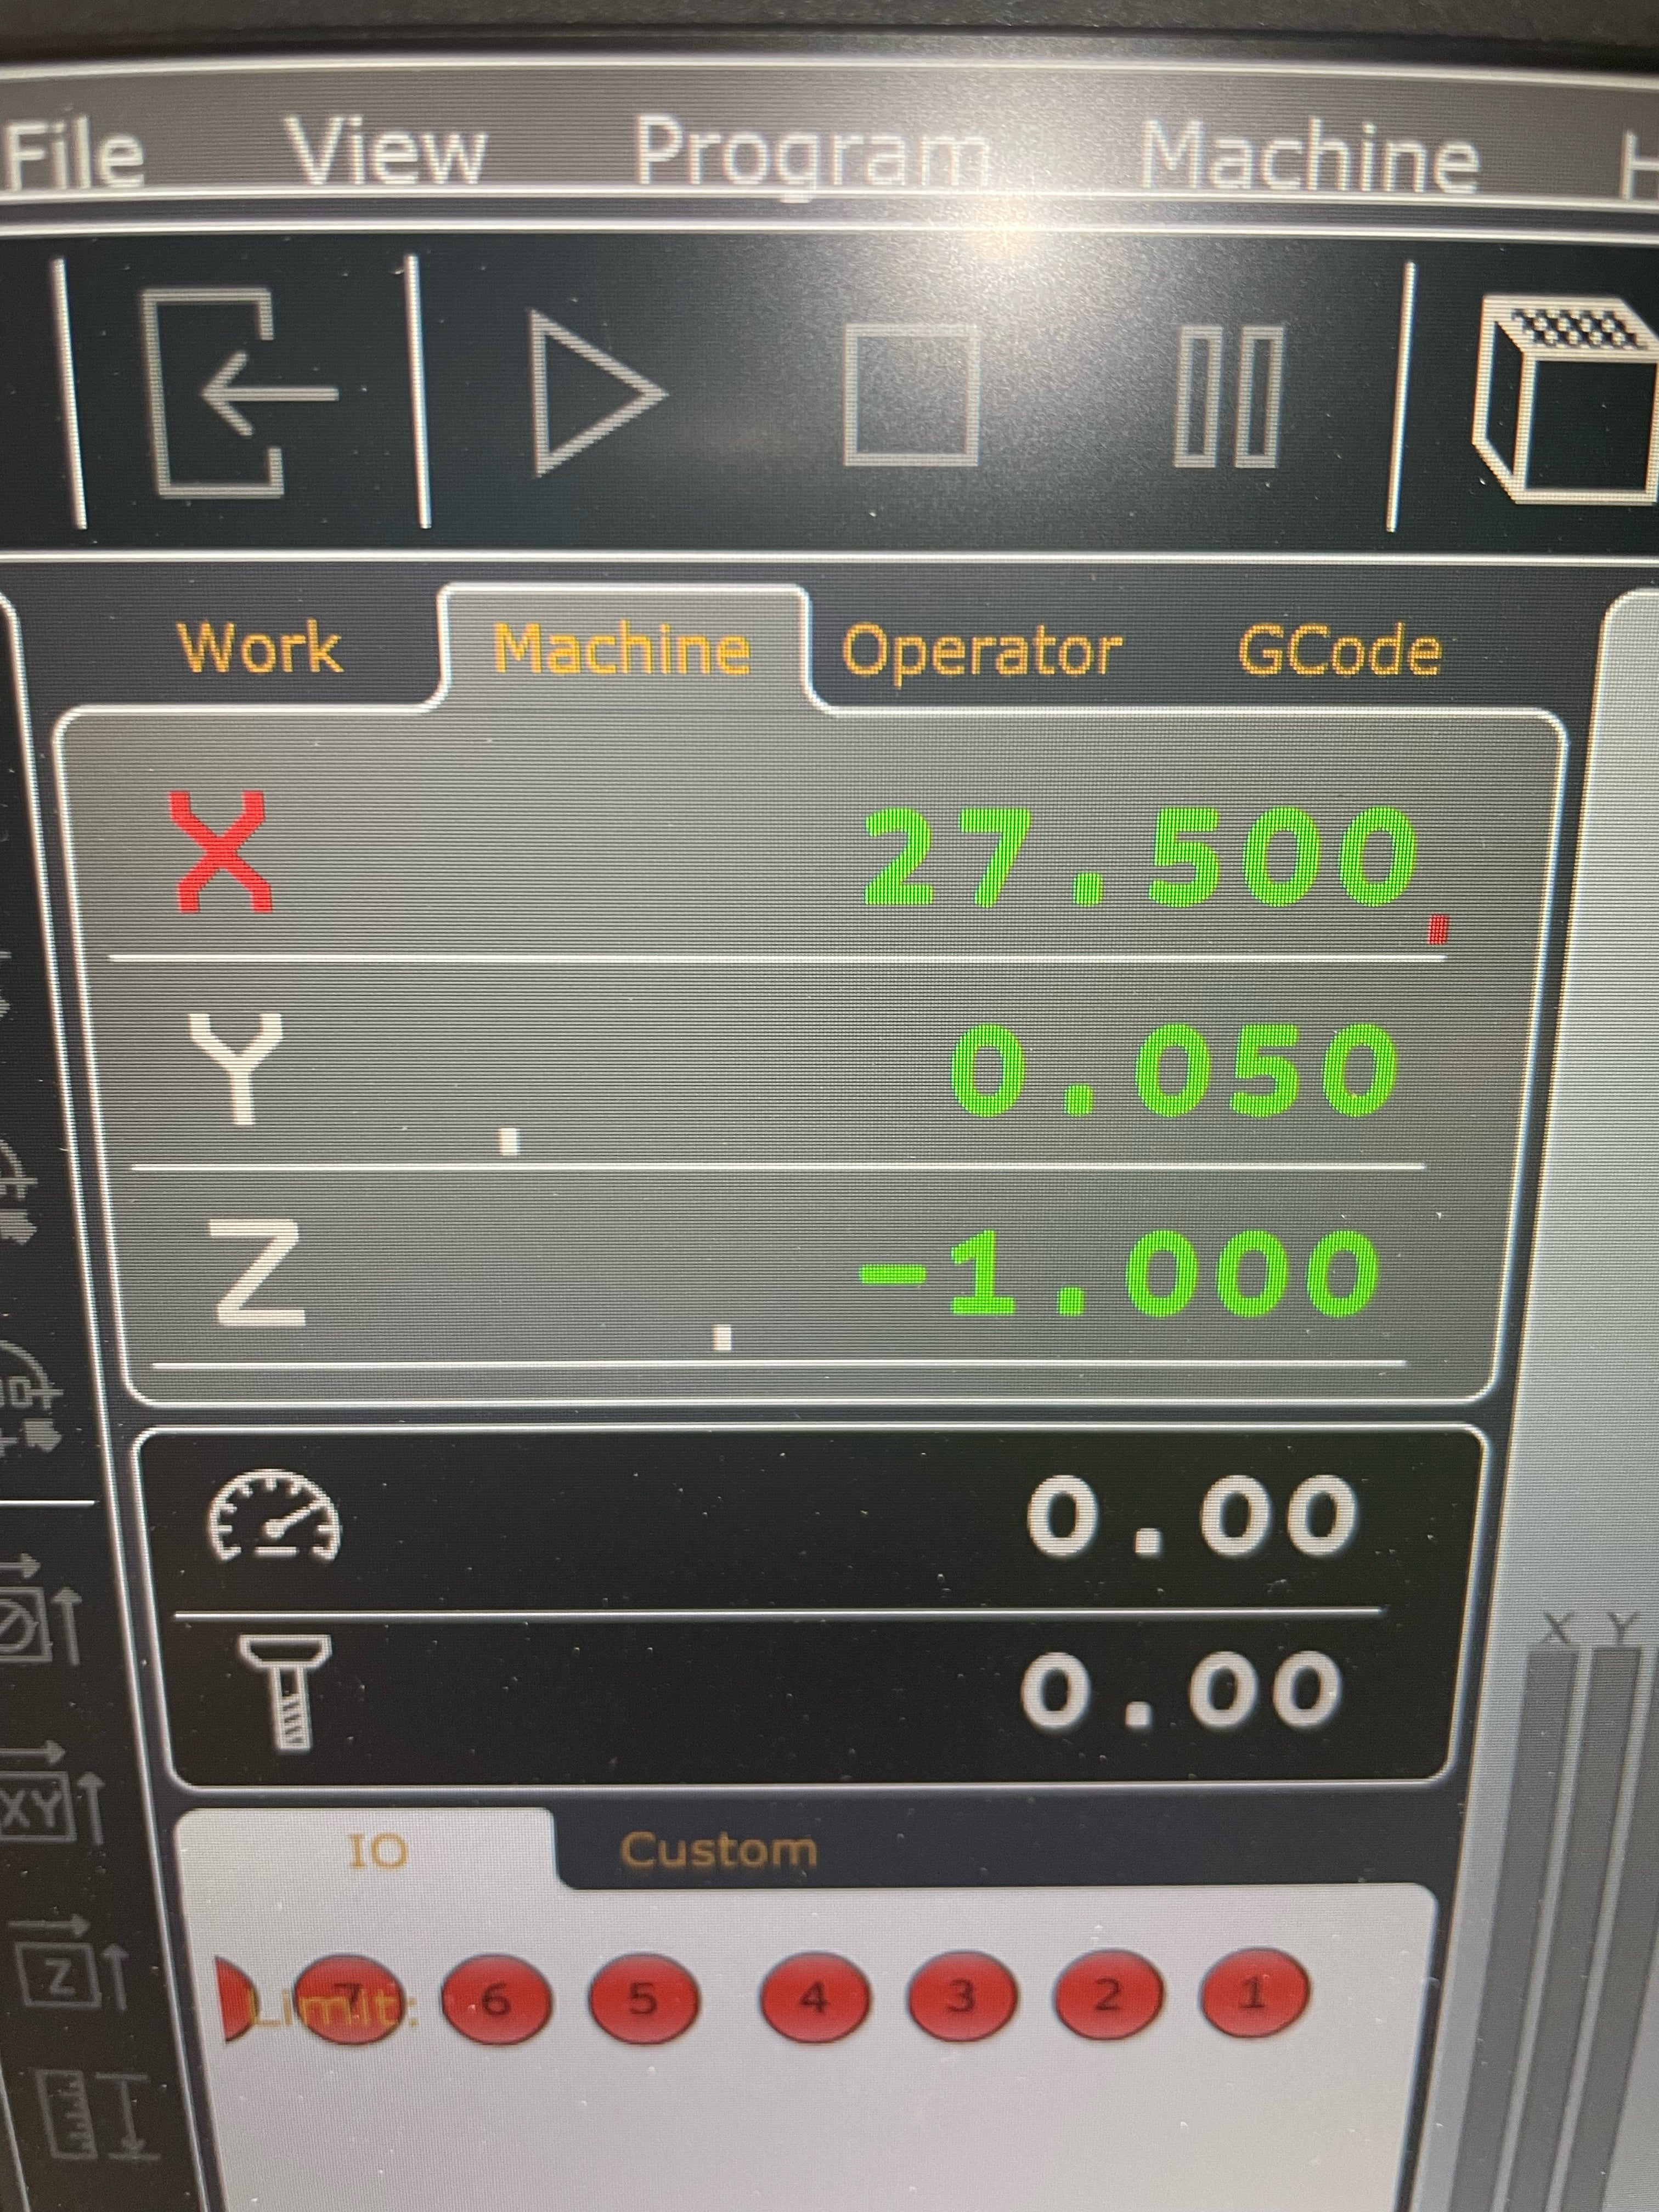
If you hit a soft limit in the software either your X, Y or Z will be red. Check in the work tab and in the machine tab.
-
Resetting a soft limit
Click on the red X, Y or Z to re-zero that axis and see if you regain the ability to move that axis in both directions. If you are able to move the axis, then re-home your machine.
-
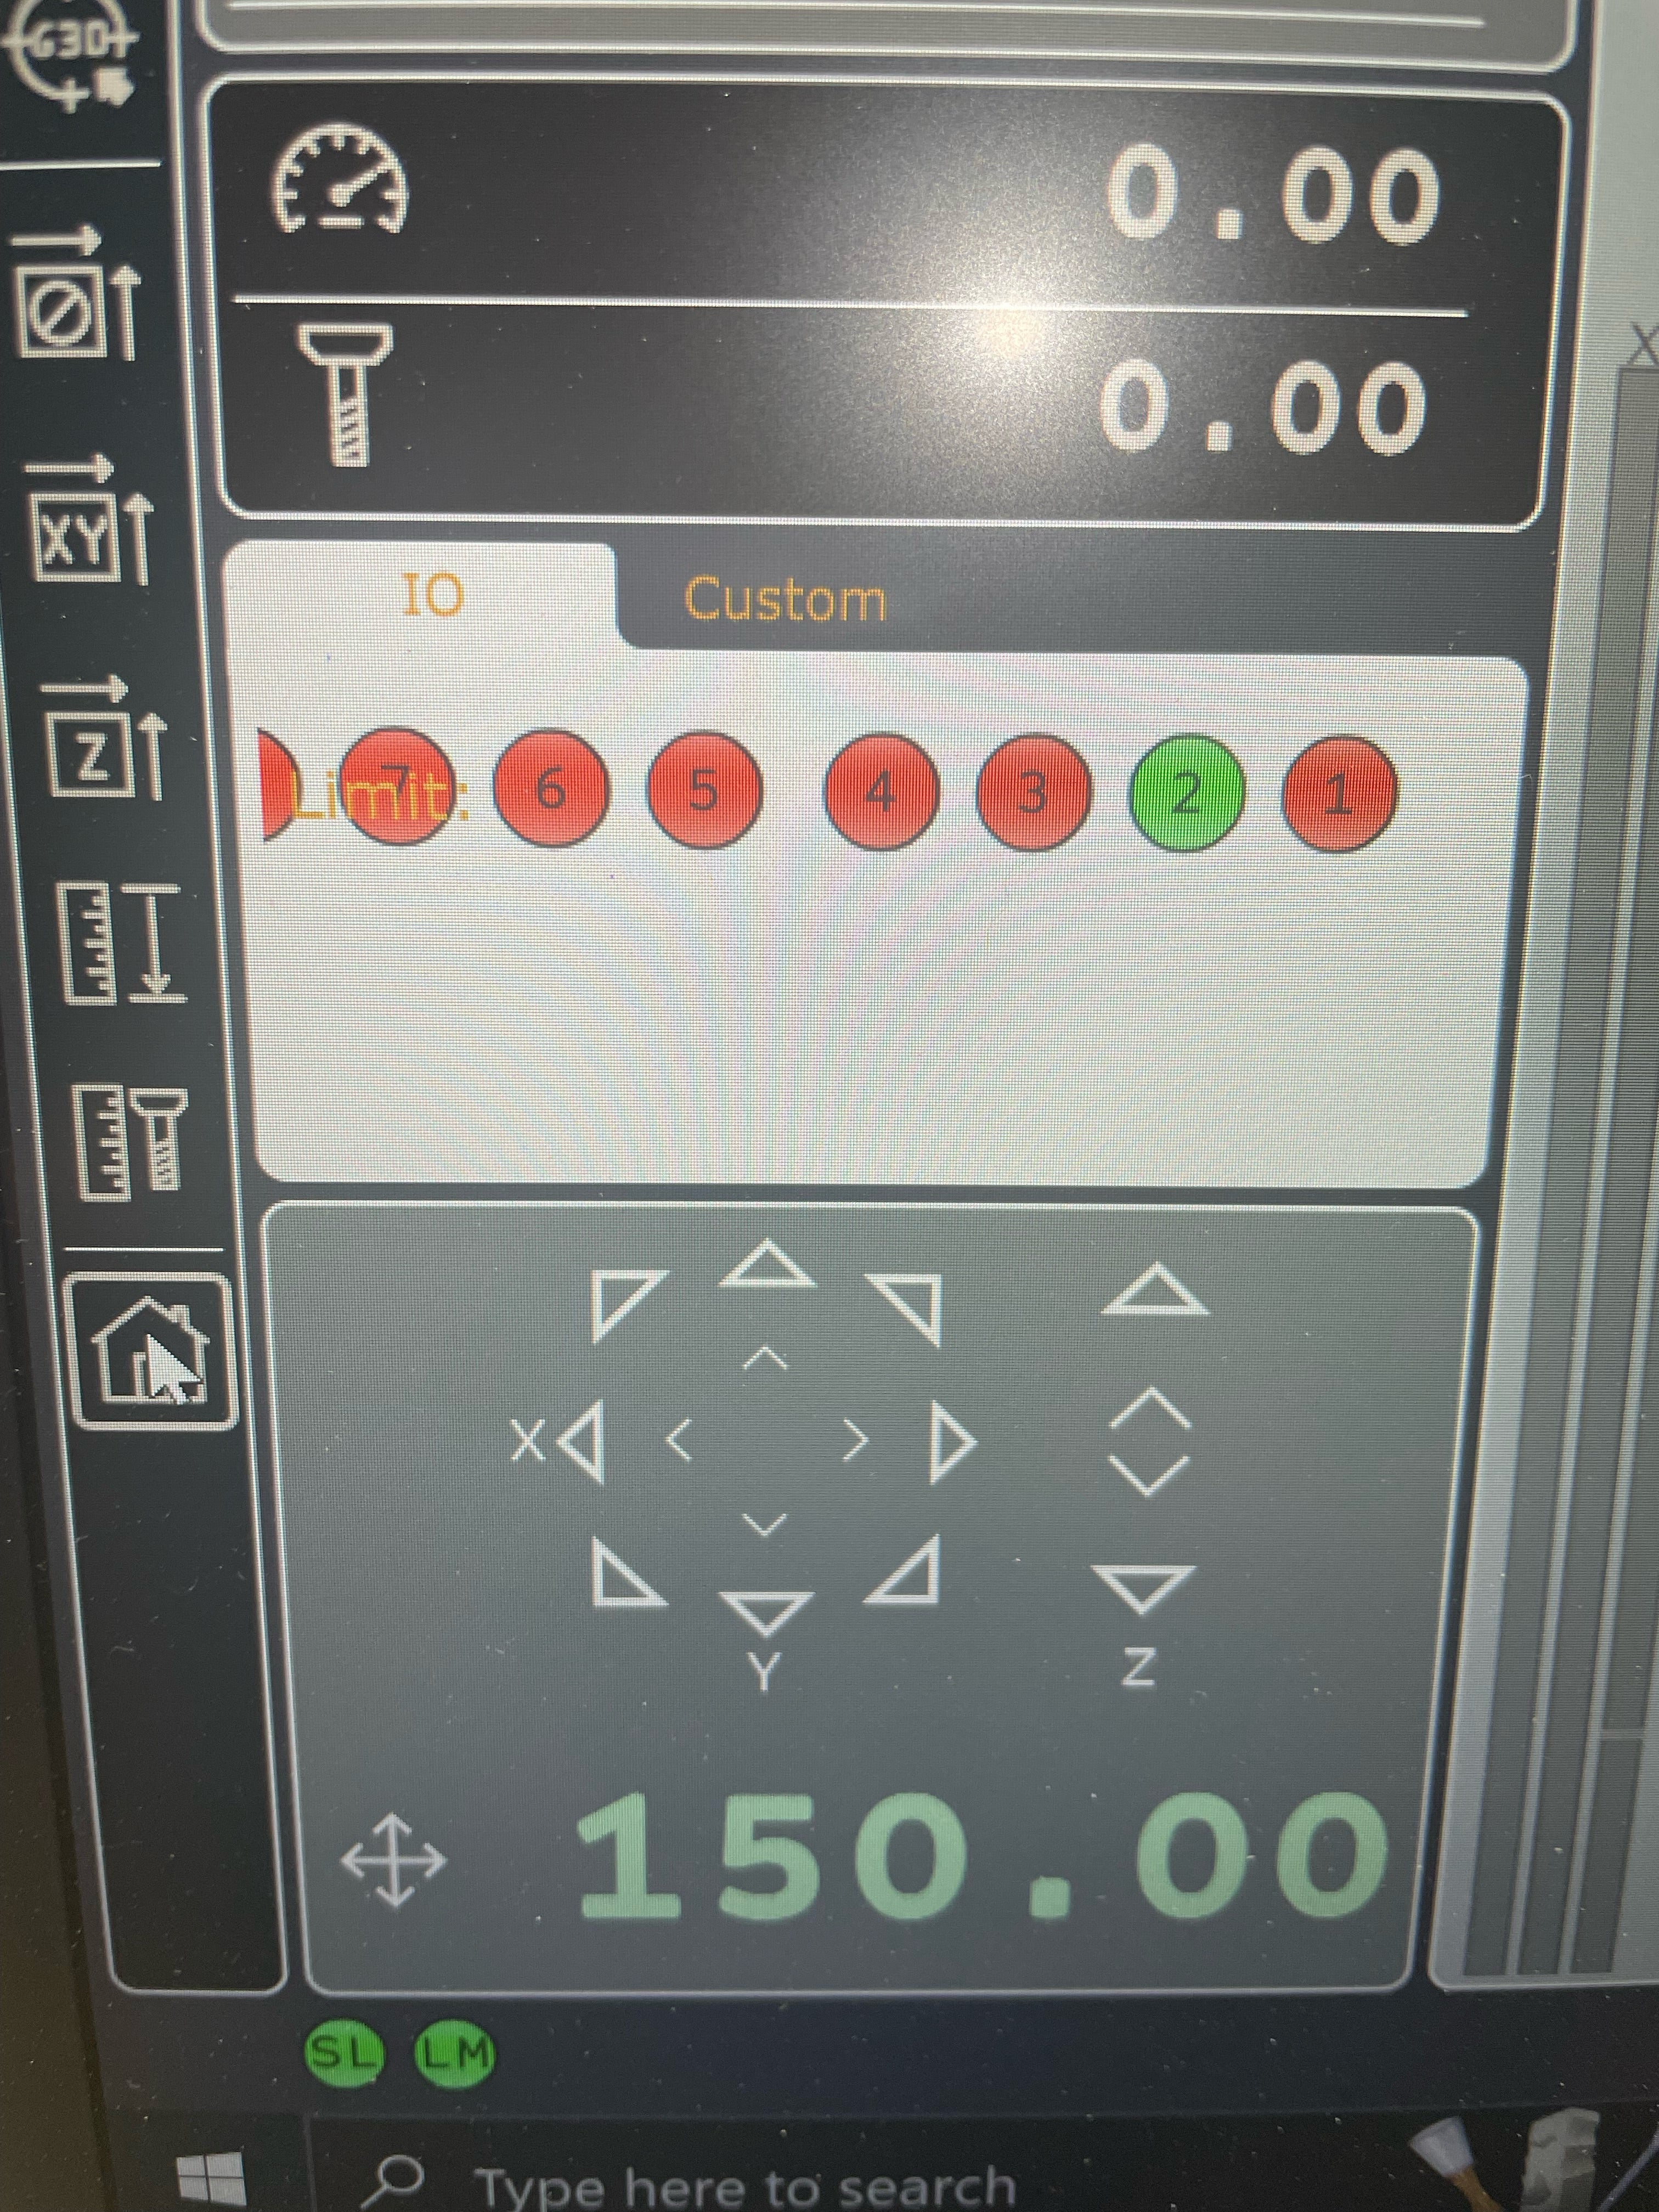
If you did not fault a servo or hit a soft limit in the software, check and see if you are hitting an actual limit.
-
NOTE
** If you hit an actual limit, either your machine or work is too far from the work envelope (too close to the limits of the table). You either need to move the work coordinates away from the physical limit or adjust the size of the tool path. If this is not the case, you could have a limit light in the software lit up and may have a faulty sensor, in this case, please give us a call for further diagnosis.


Just the Y motors arent moving.
-
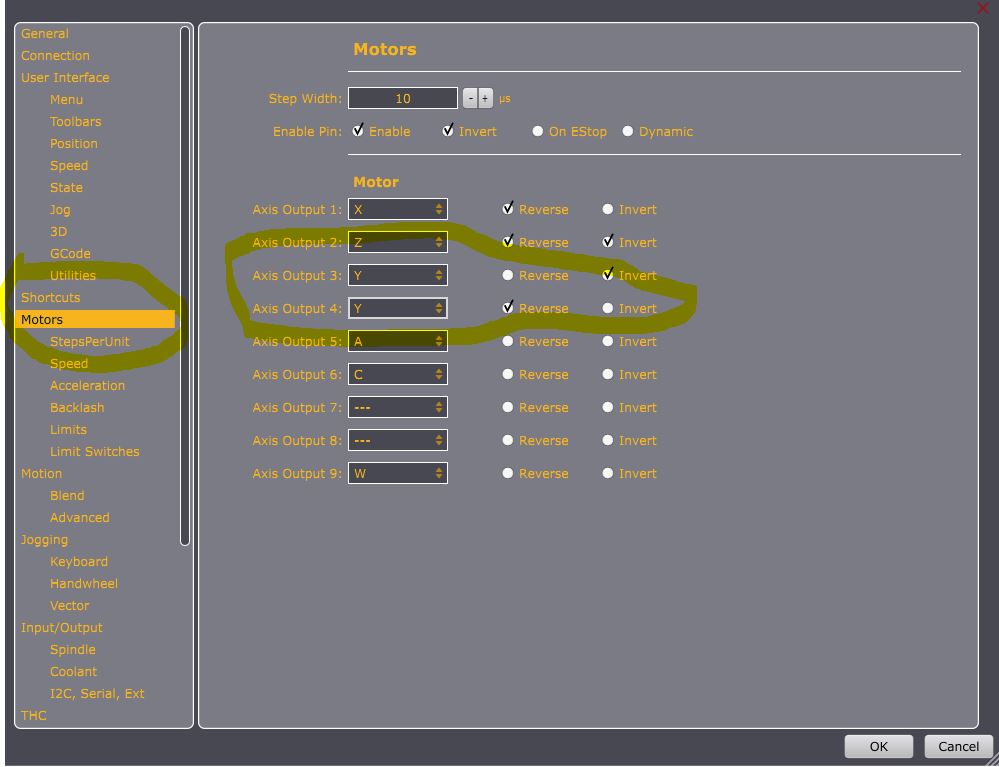
Check that the motor outputs are correct.
In the settings, go to motors and see if the axis 3 and 4 output is set to Y.
-
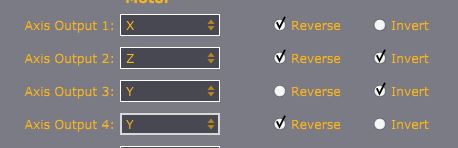
These should be the right settings, although a few boxes could have diffent outputs and reverse / inverts. Call us if you are running into these issues.
-
NOTE
Usually this problem occurs because the "square" button was pressed without squaring being setup.


All axes are not moving
-
Verify your control box is on and the Planet CNC TNG software recognizes the control box is connected to the controller. One or both of the bottom 2 led lights in the software will be green if it is connected. If they are gray or another color it might not be connected.
-
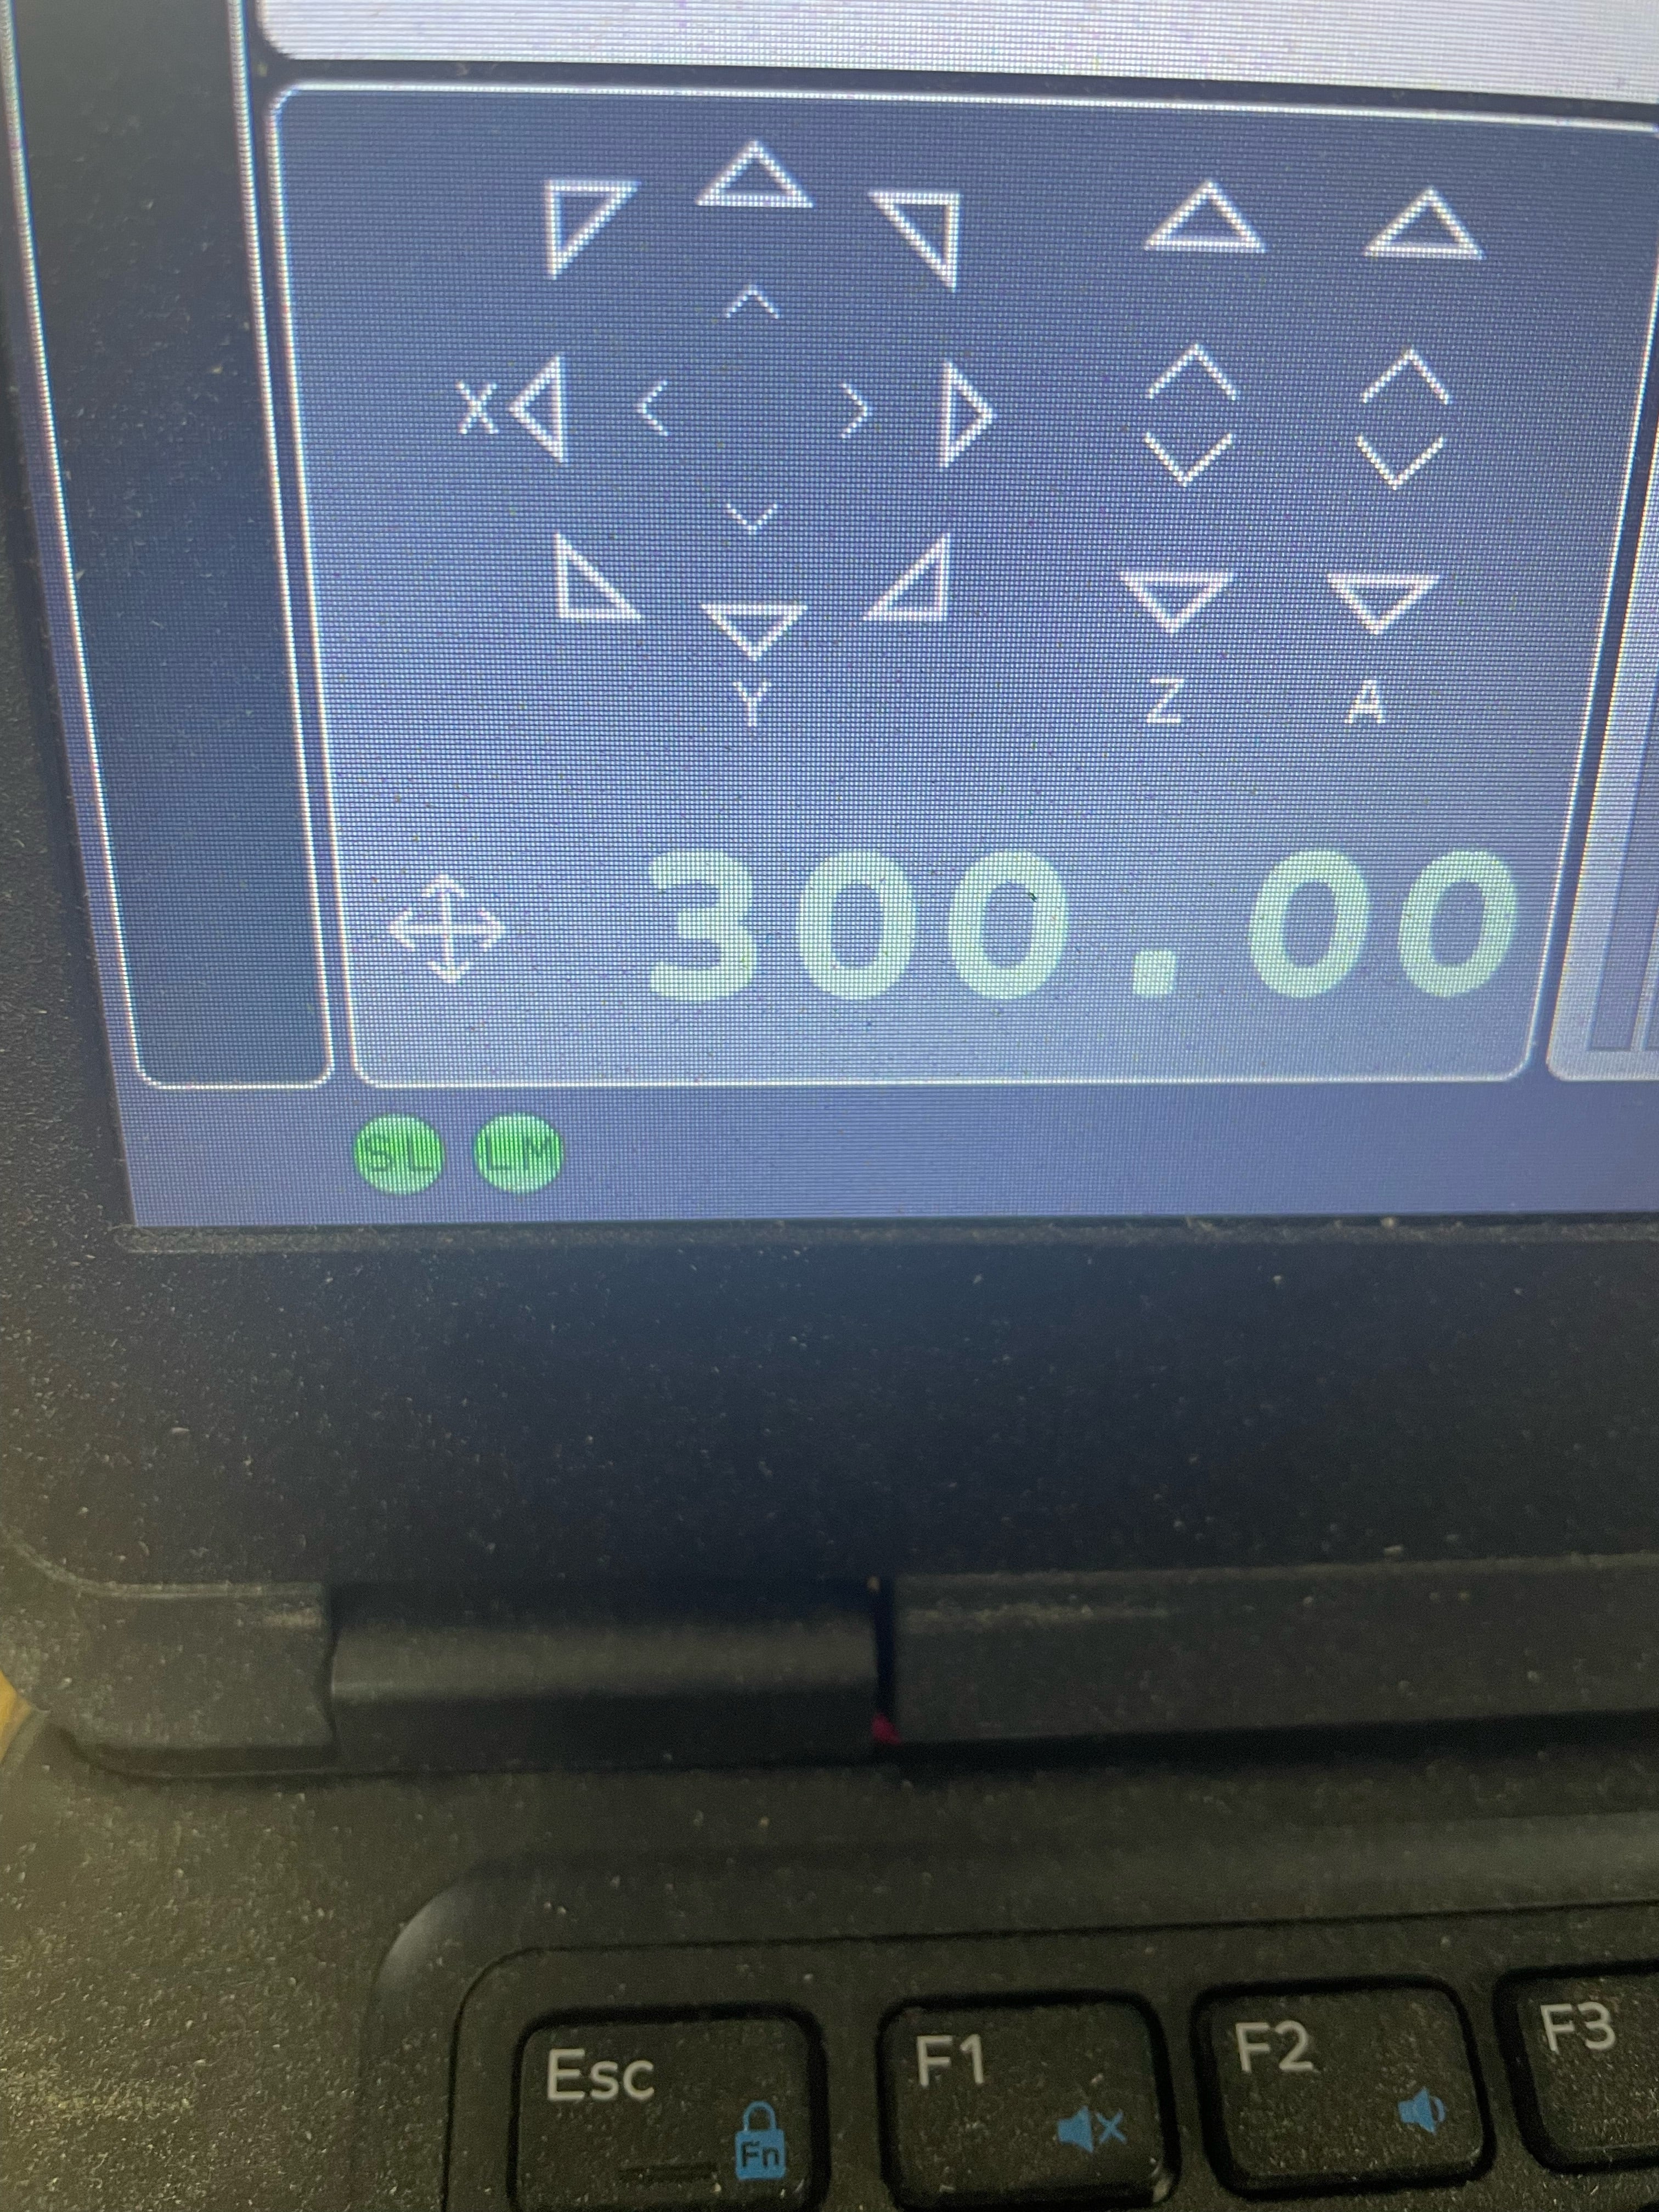
Connected
-
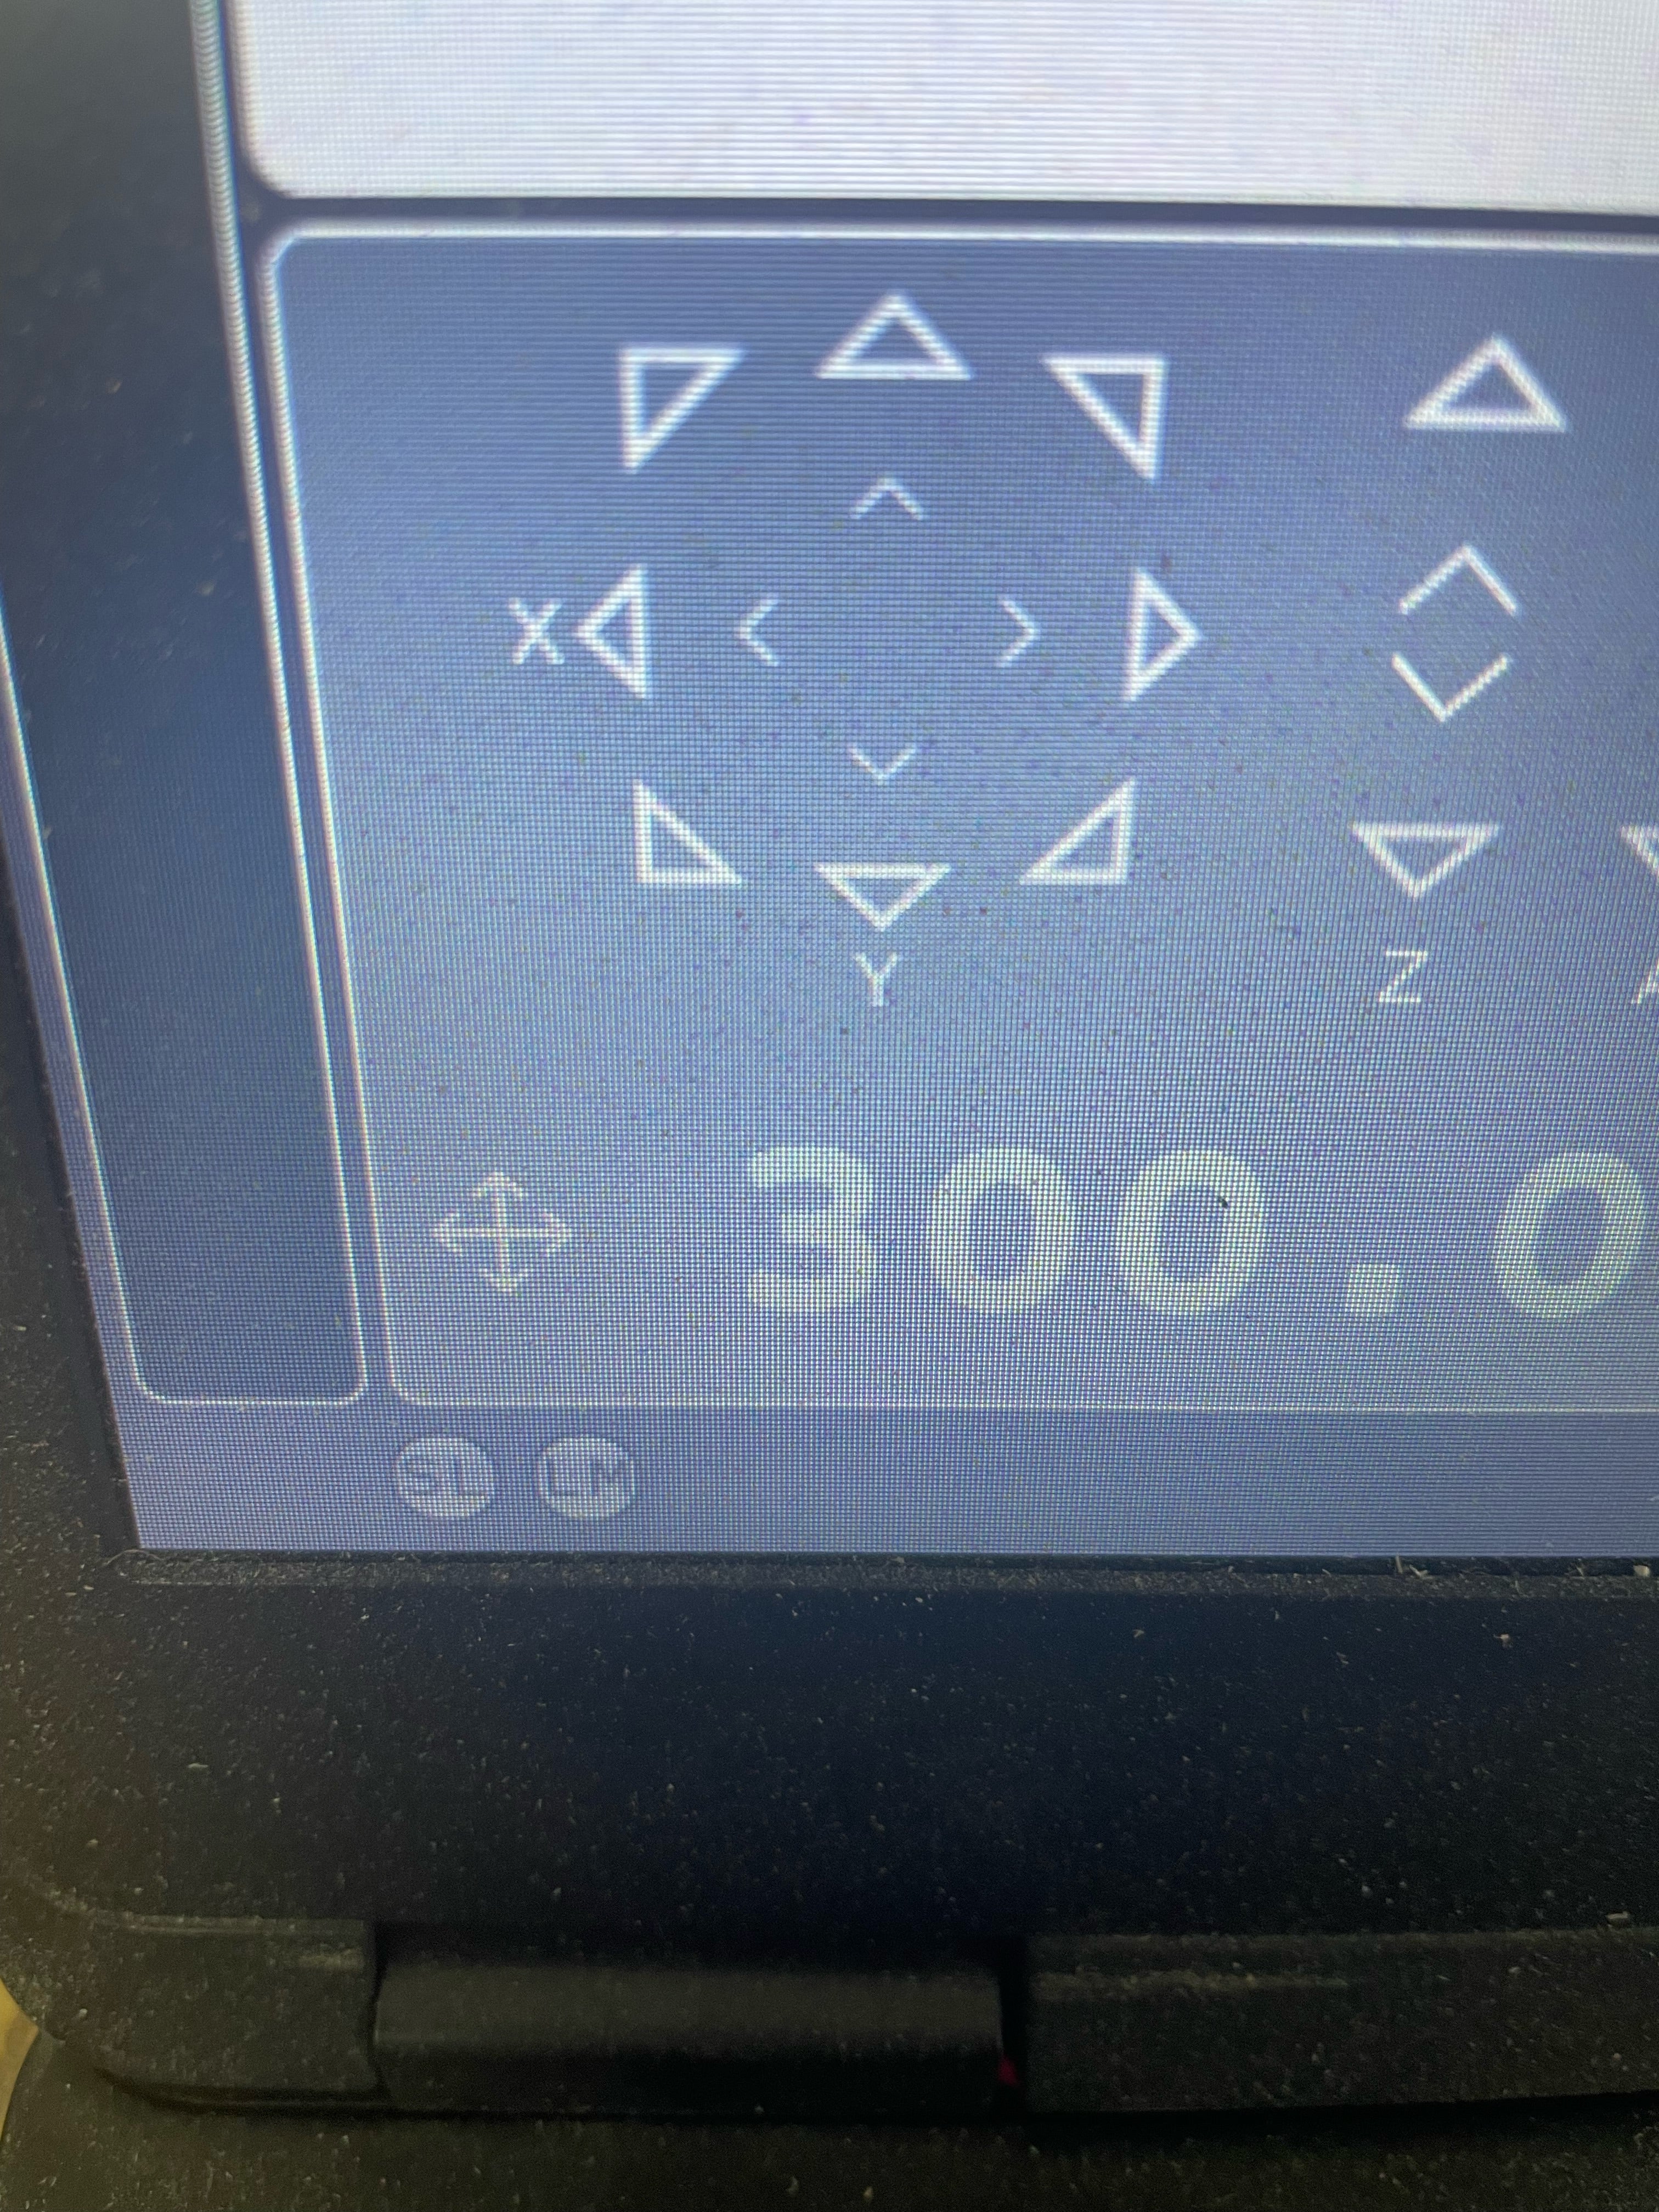
Not Connected
-
Make sure your control box is ON
-
Make sure your Planet CNC firmware, your control card firmware, and your laptop software is updated.
To update the Planet CNC TNG software, go to the top of the screen and click 'Help' then 'Check for updates'.
To update your control card, go to the top of the screen and click 'Machine' then 'Controller' then 'Firmware update'.
To update your computer, click the windows power button, which is usually at the bottom left of the screen. If there is an update, you will see an orange dot near the power button . -
Check and see if the wire to the control box labeled 'RELAY' is plugged in correctly and completely. The servos get their power from this cord and it should be plugged in all the way.
If you checked all of these and still have no movement, give us a call and we'll trouble shoot the issue further.


Z-axis is cutting too deep, not cutting at consistent depths, or not as deep as programmed
-
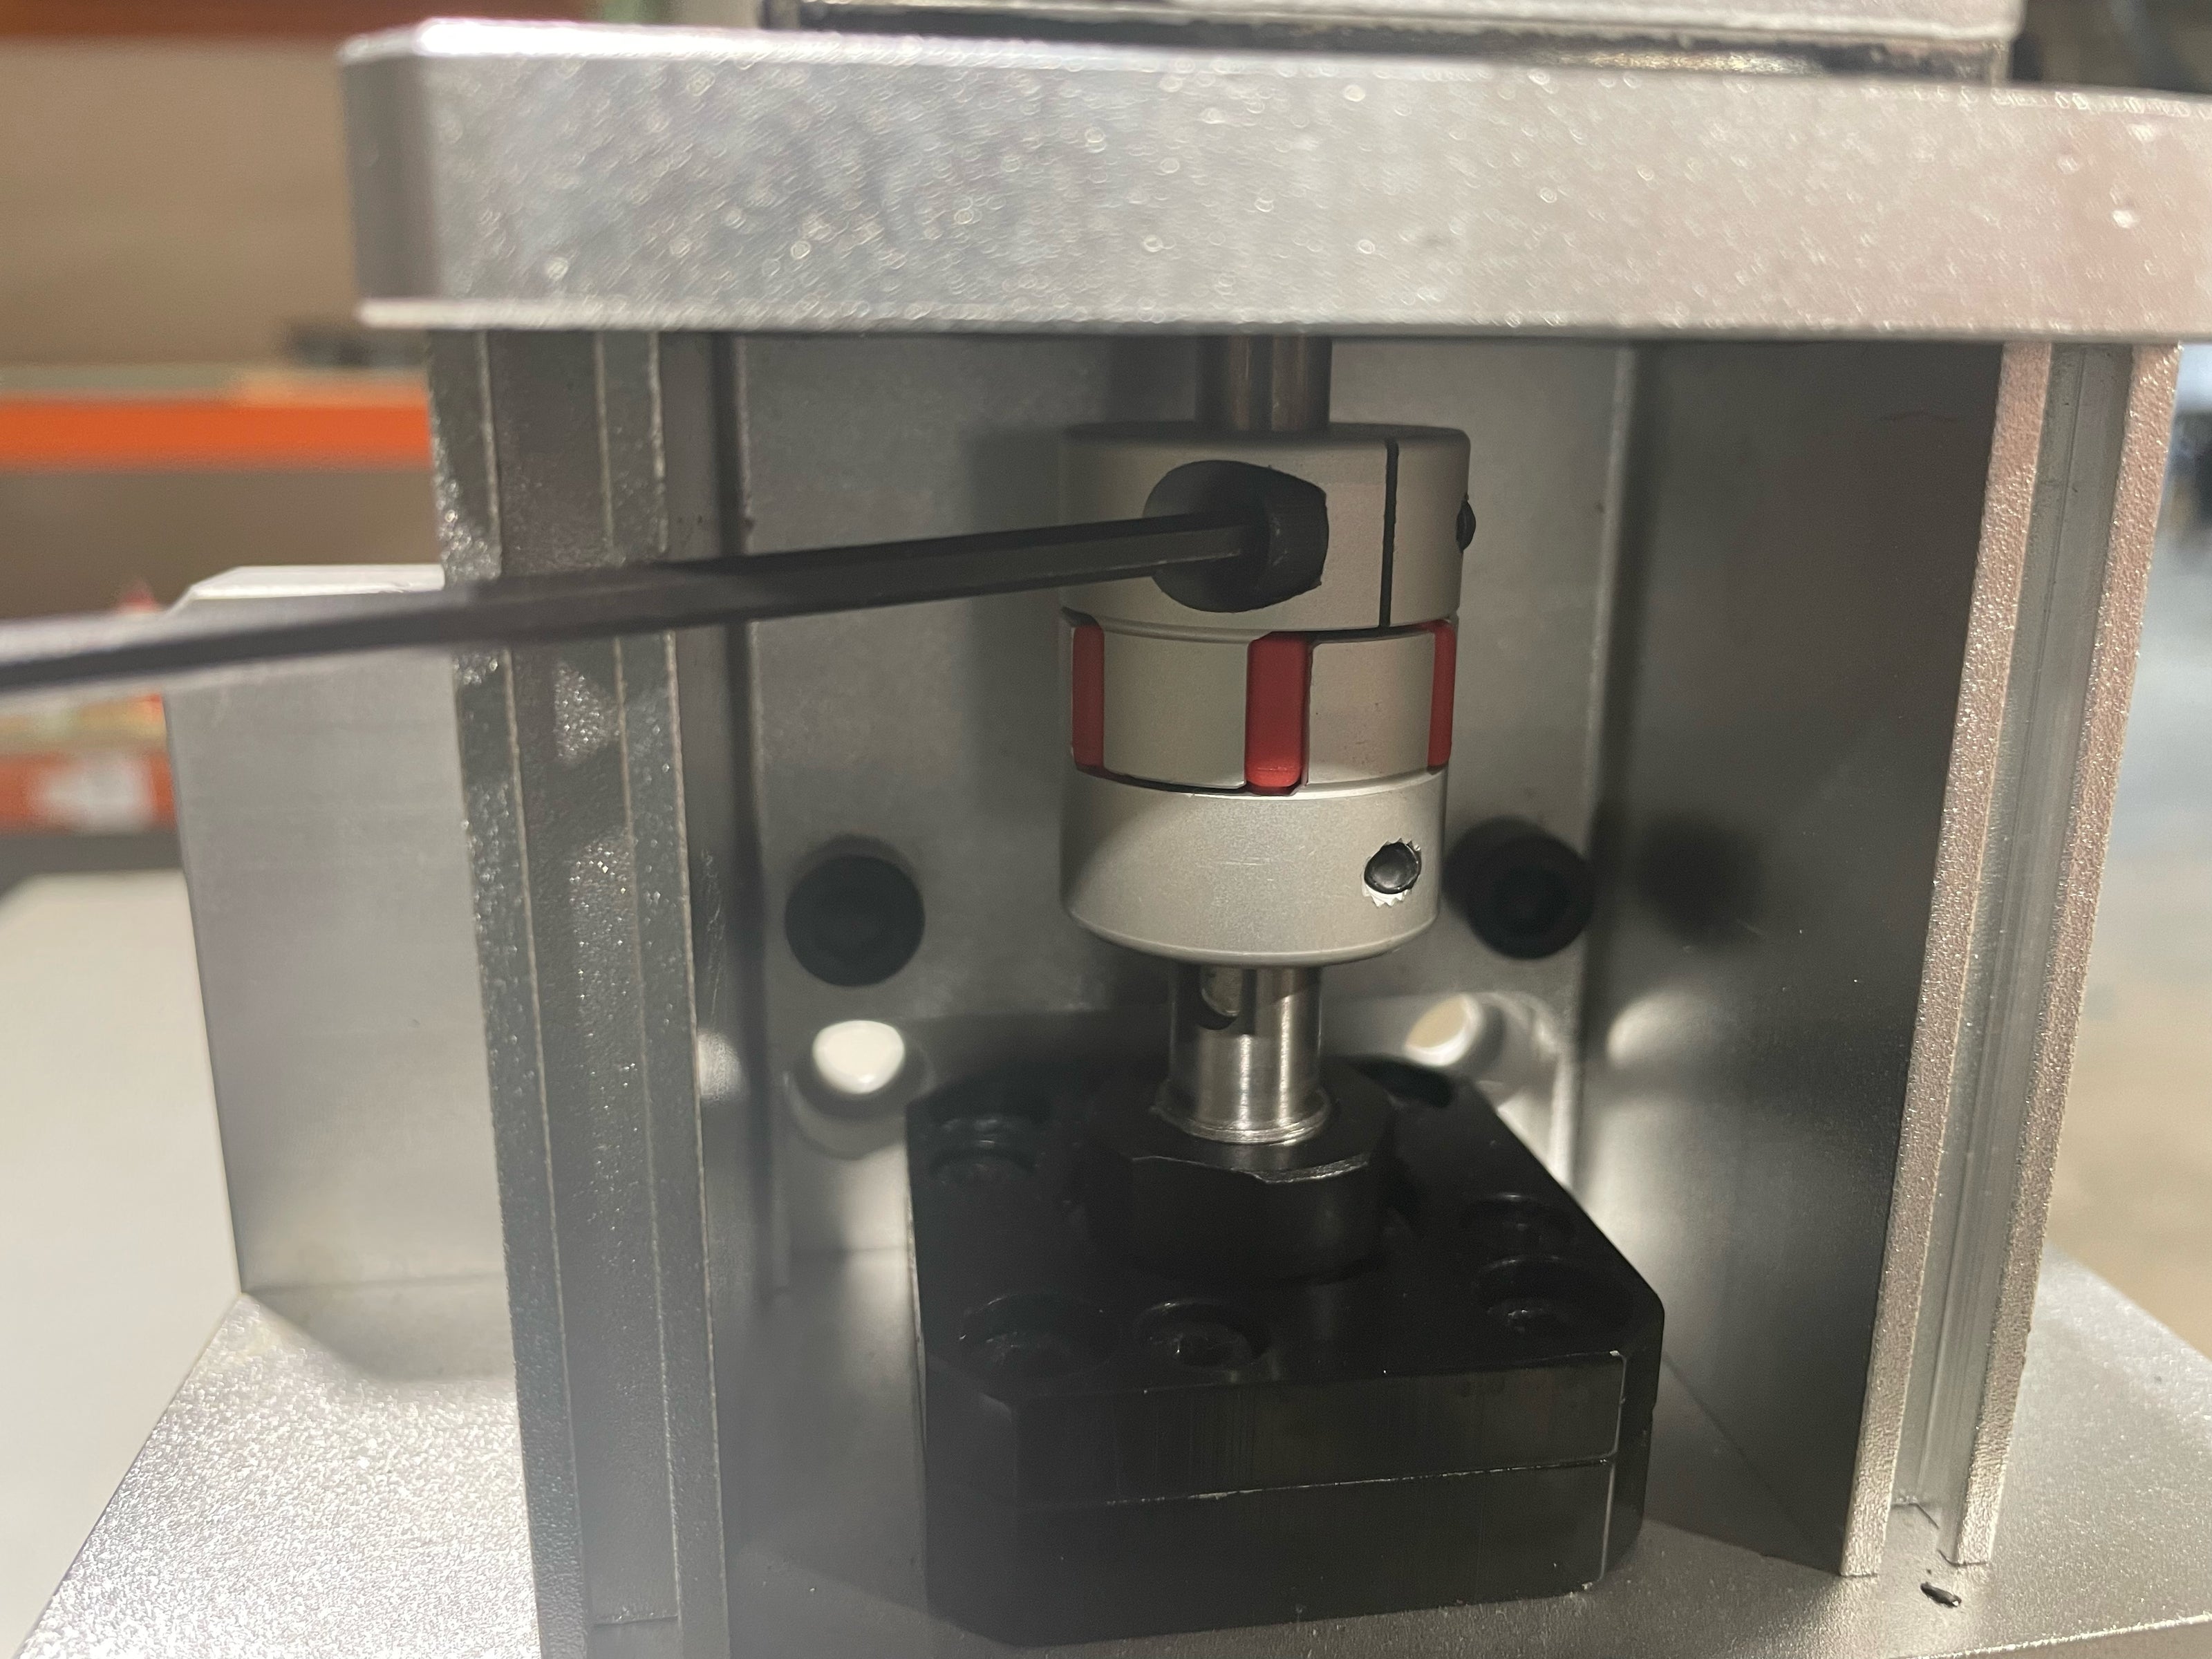
Make sure the color between the z motor and the ball screw is tight on both screws.
-
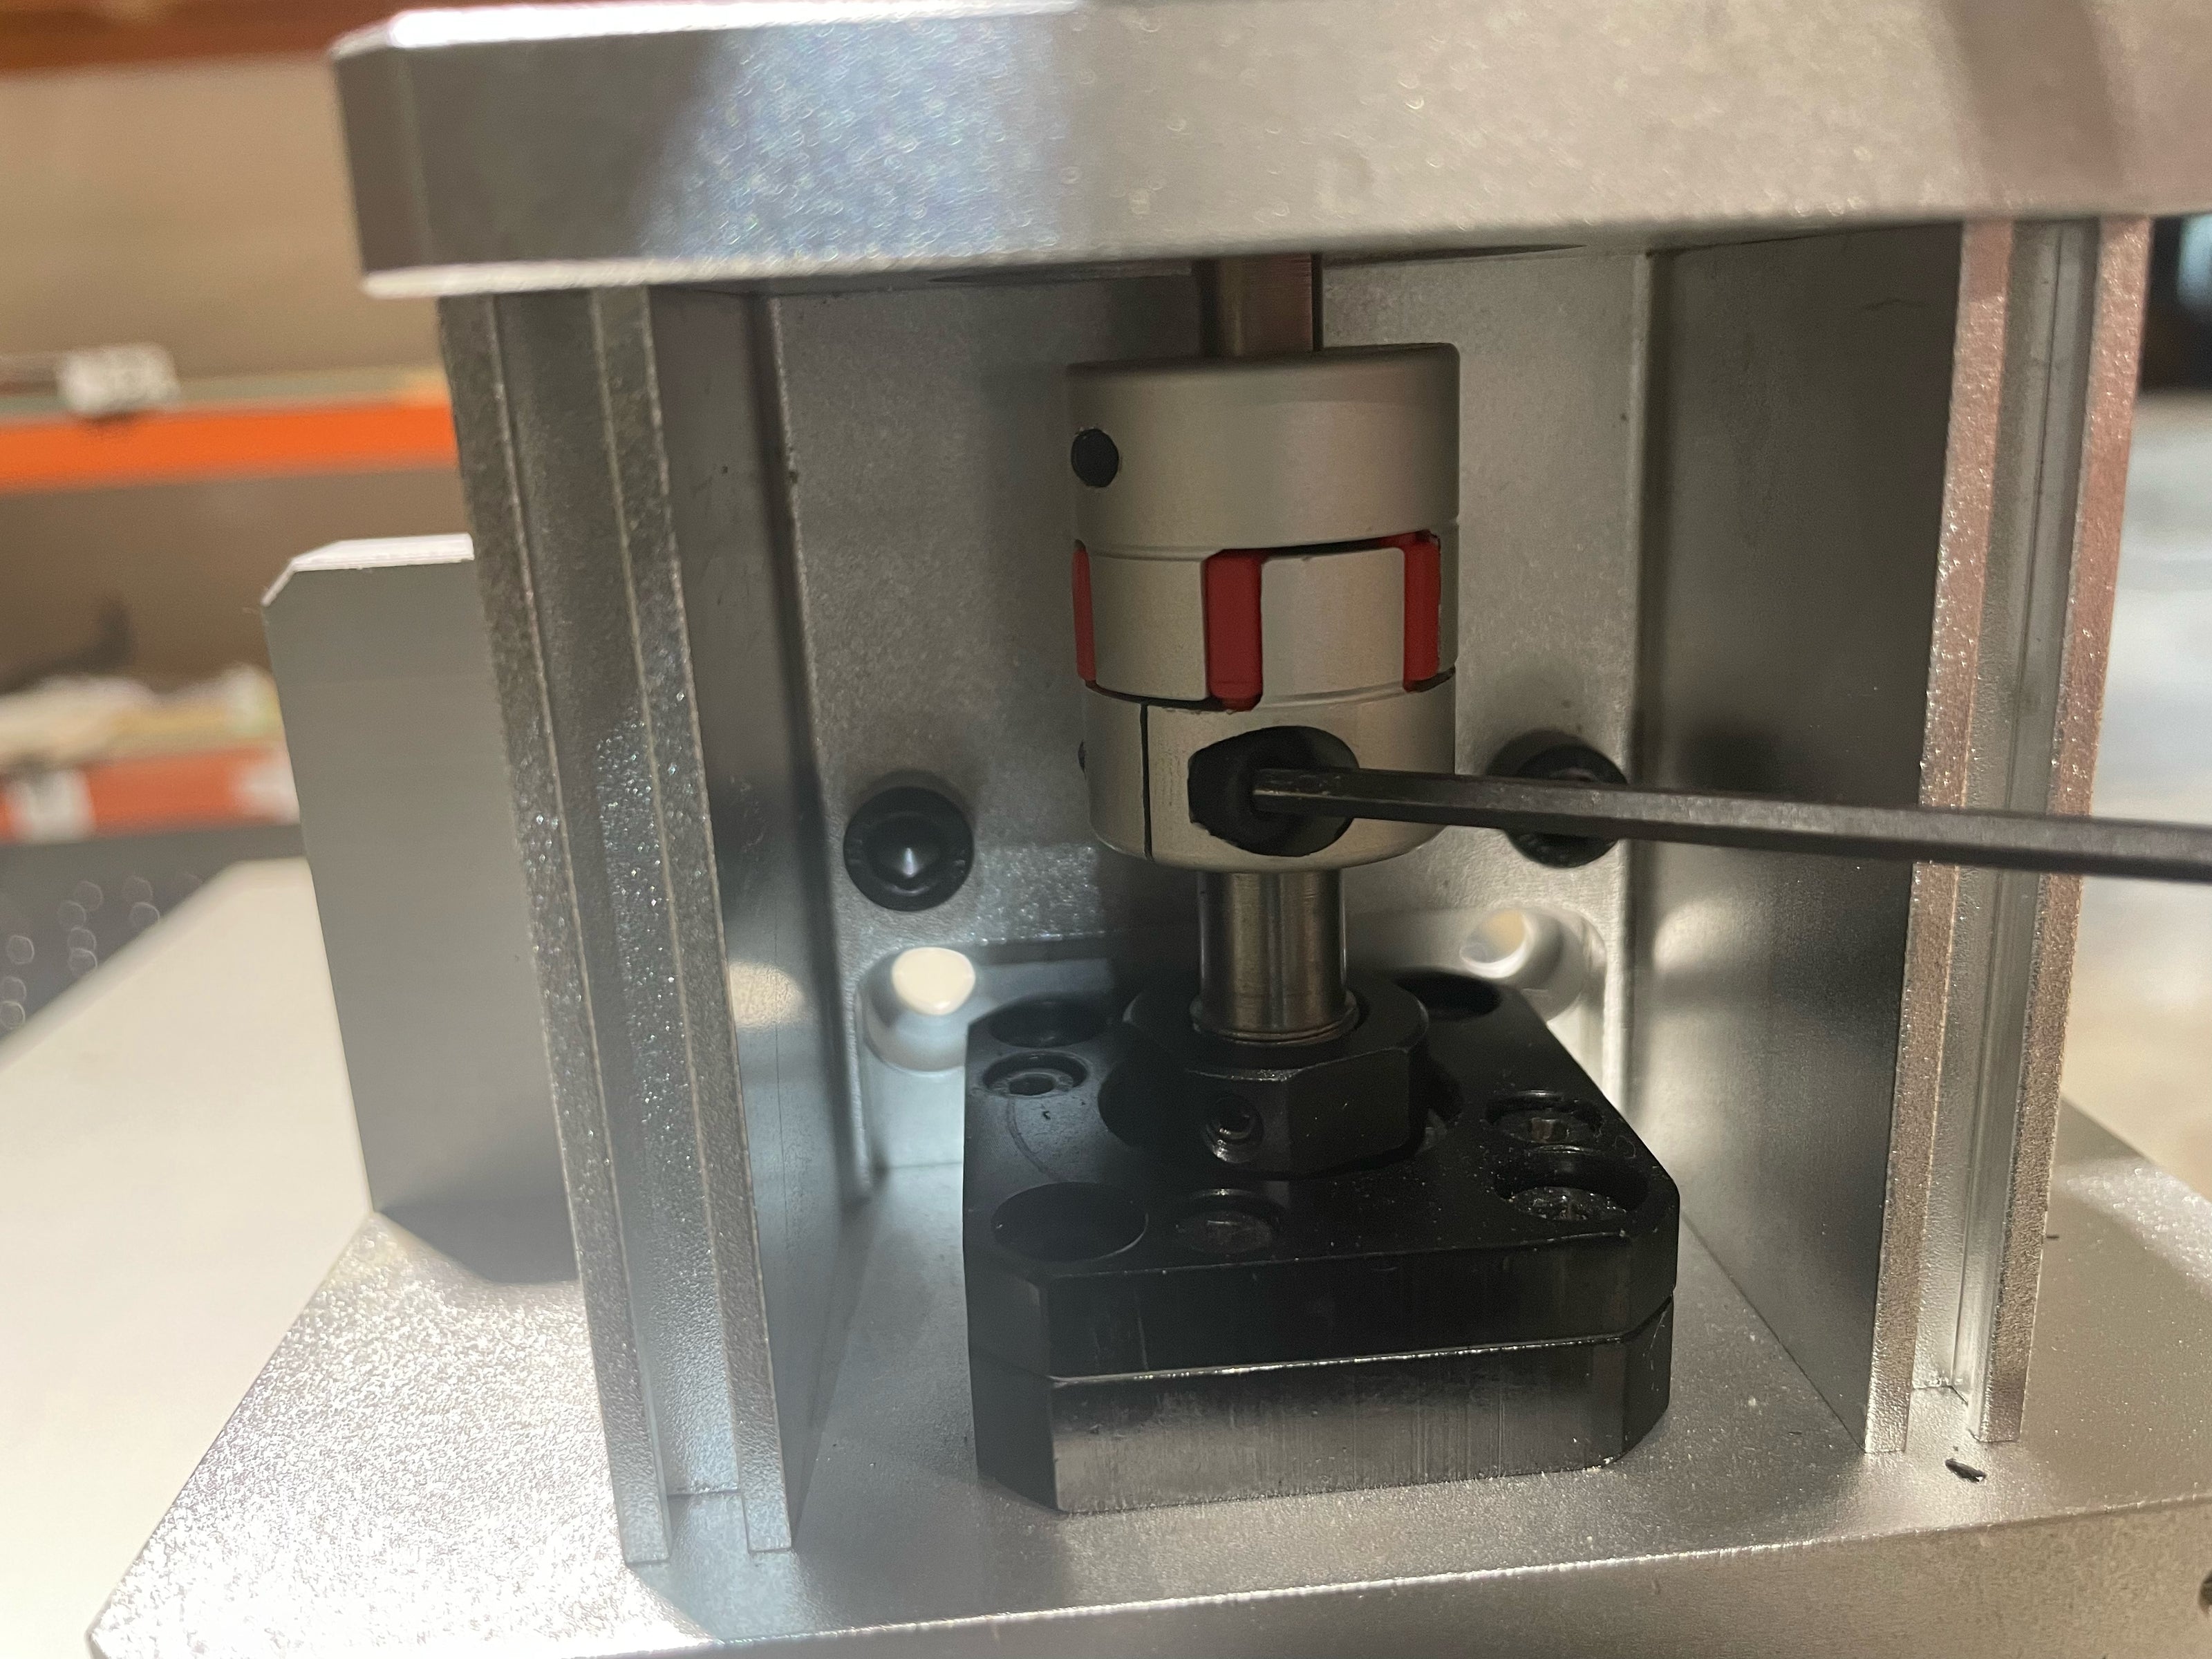
Top and bottom
-
Make sure your steps per unit are set correctly.
In the Planet CNC TNG software, click on 'Settings' at the top of the screen, then 'Steps Per Unit' then make sure the z is set correctly.


X or Y axes is slipping, not cutting right, or not circular
-
Check if a motor is faulted out
If you have a faulted out motor, you will have a red light flashing on that servo. To fix this, turn the control box off for 3 seconds and turn it back on. This will reset the servo. Then home the machine
-
Make sure all of your dip switches on the servos are the same and correct
NOTE: All of the motors should be set the same, but the orientation of the y motor is upside down. -
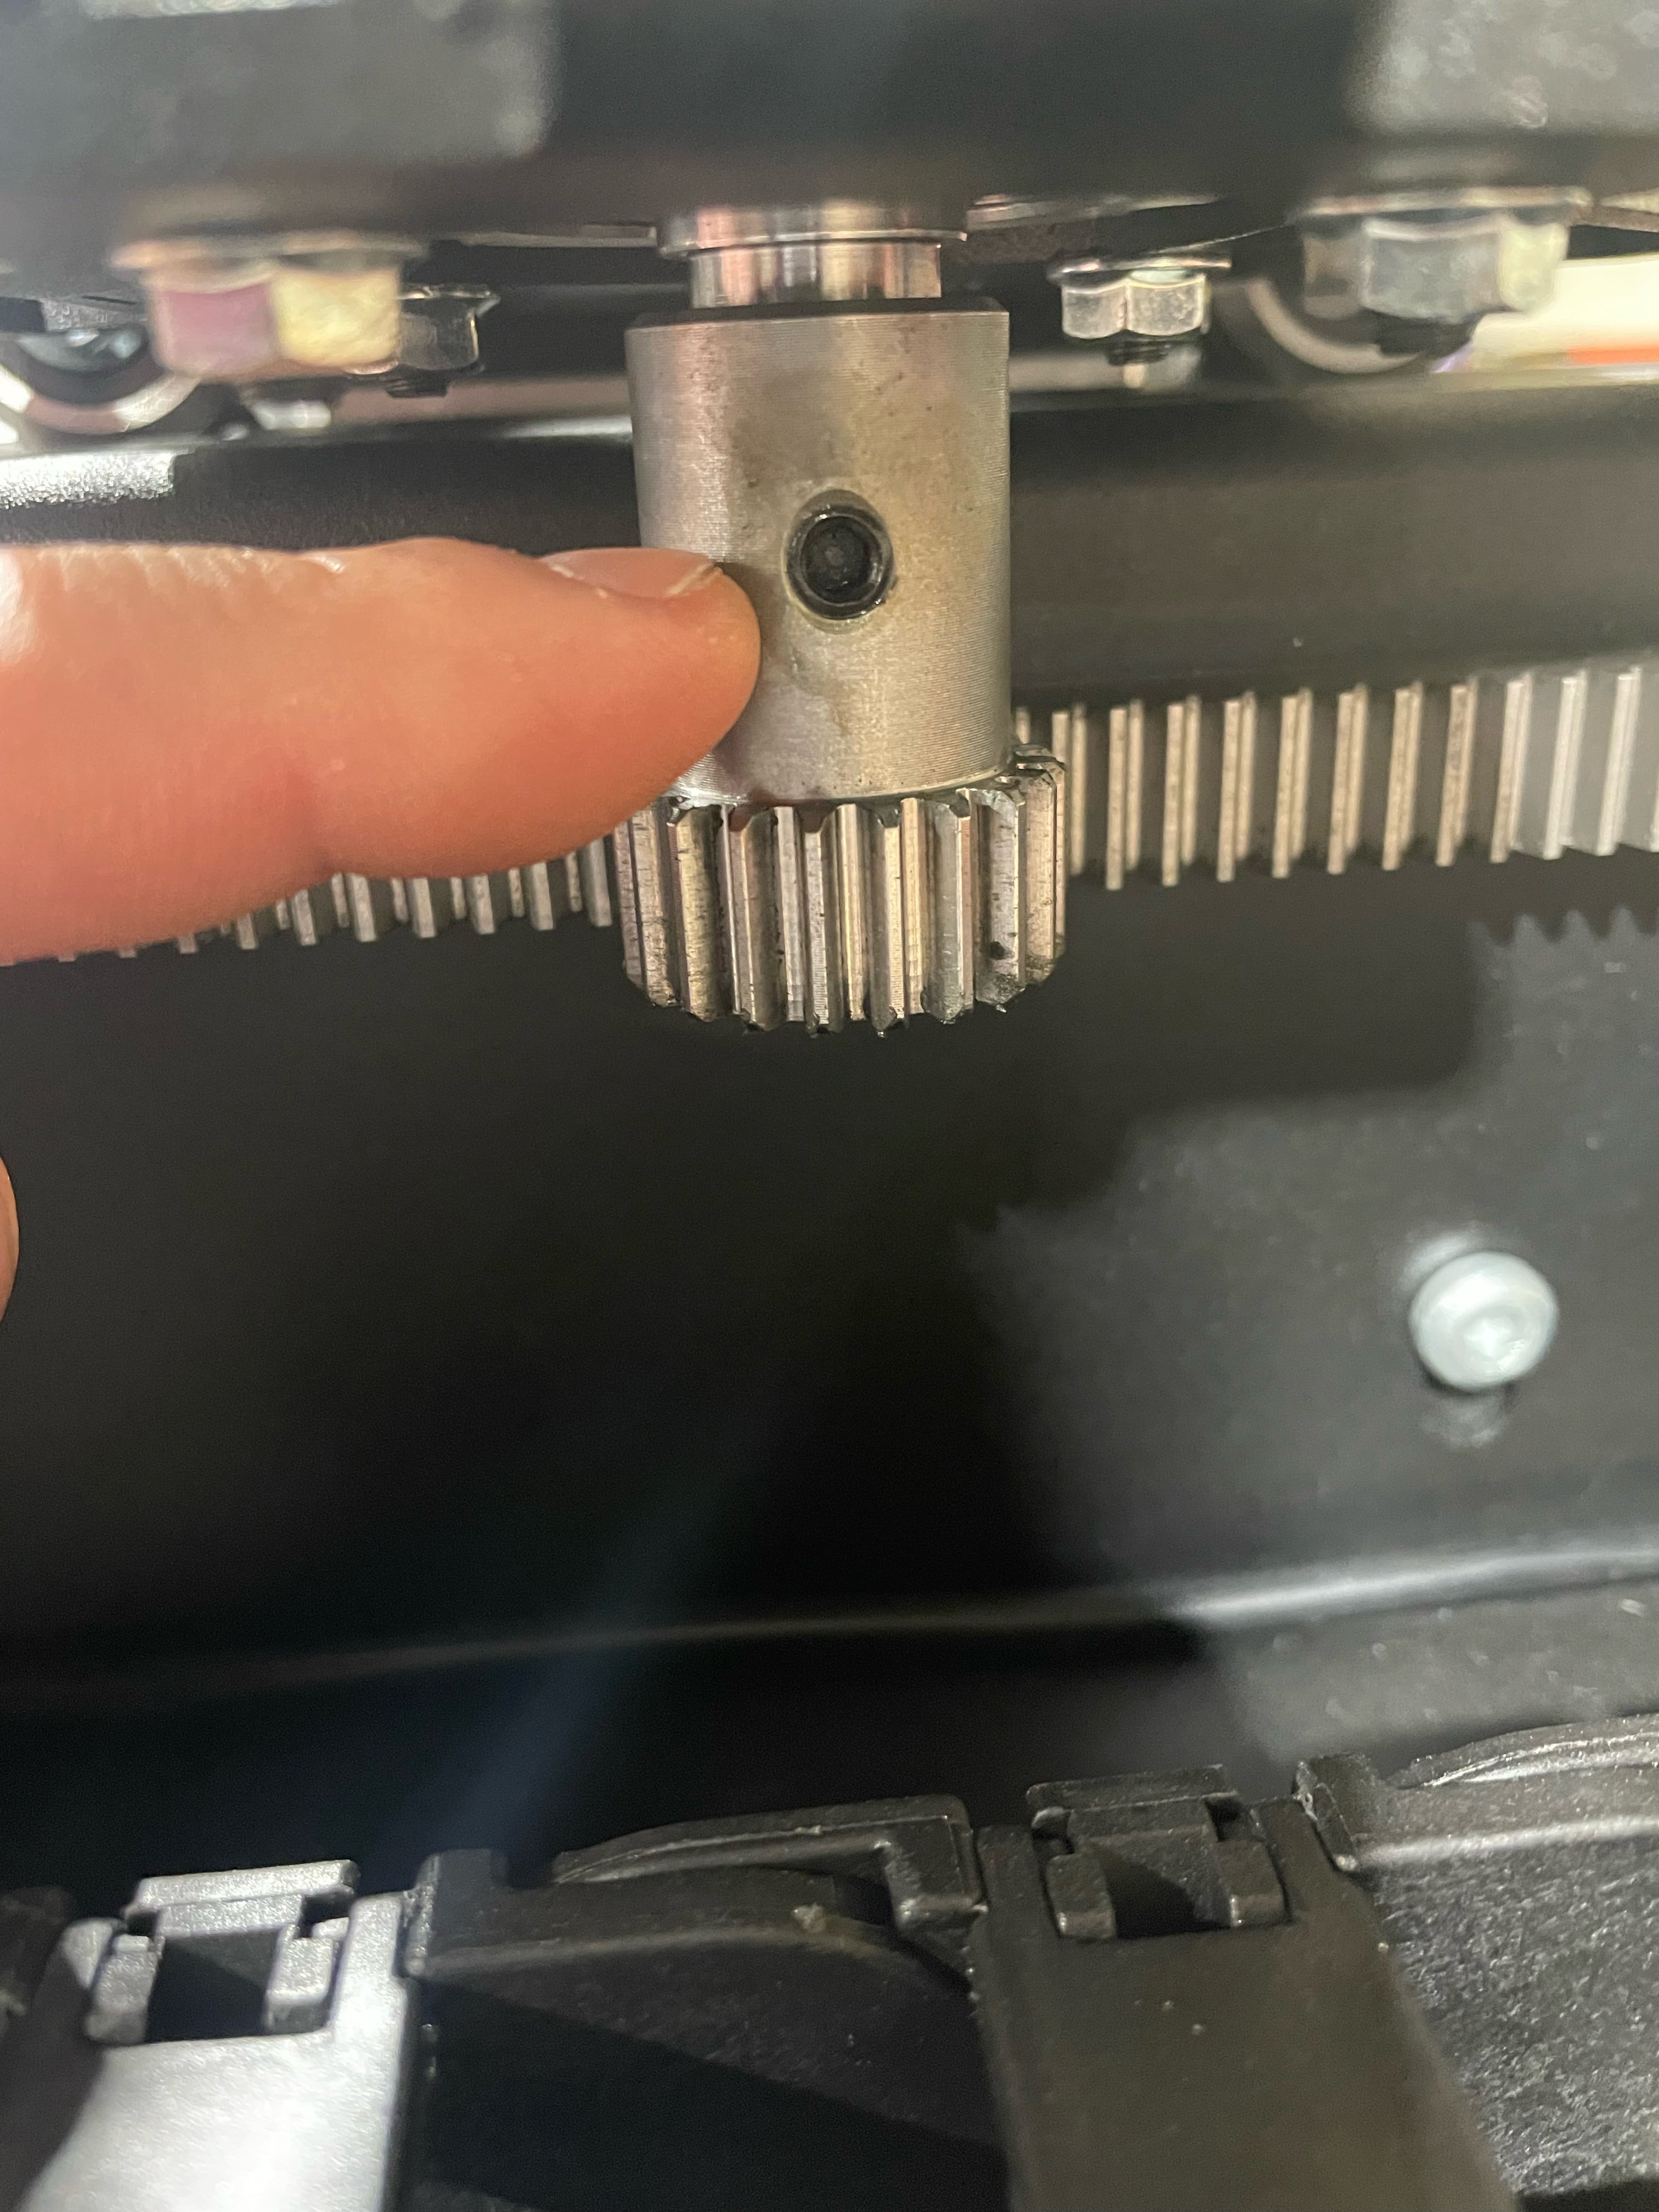
Check that the X and Y grub screws are tight
The gear should be centered on the rack. Use a 1/8 allen and make sure the grub screw is aligned with the key way in the planetray output shaft and that it is tight.
-
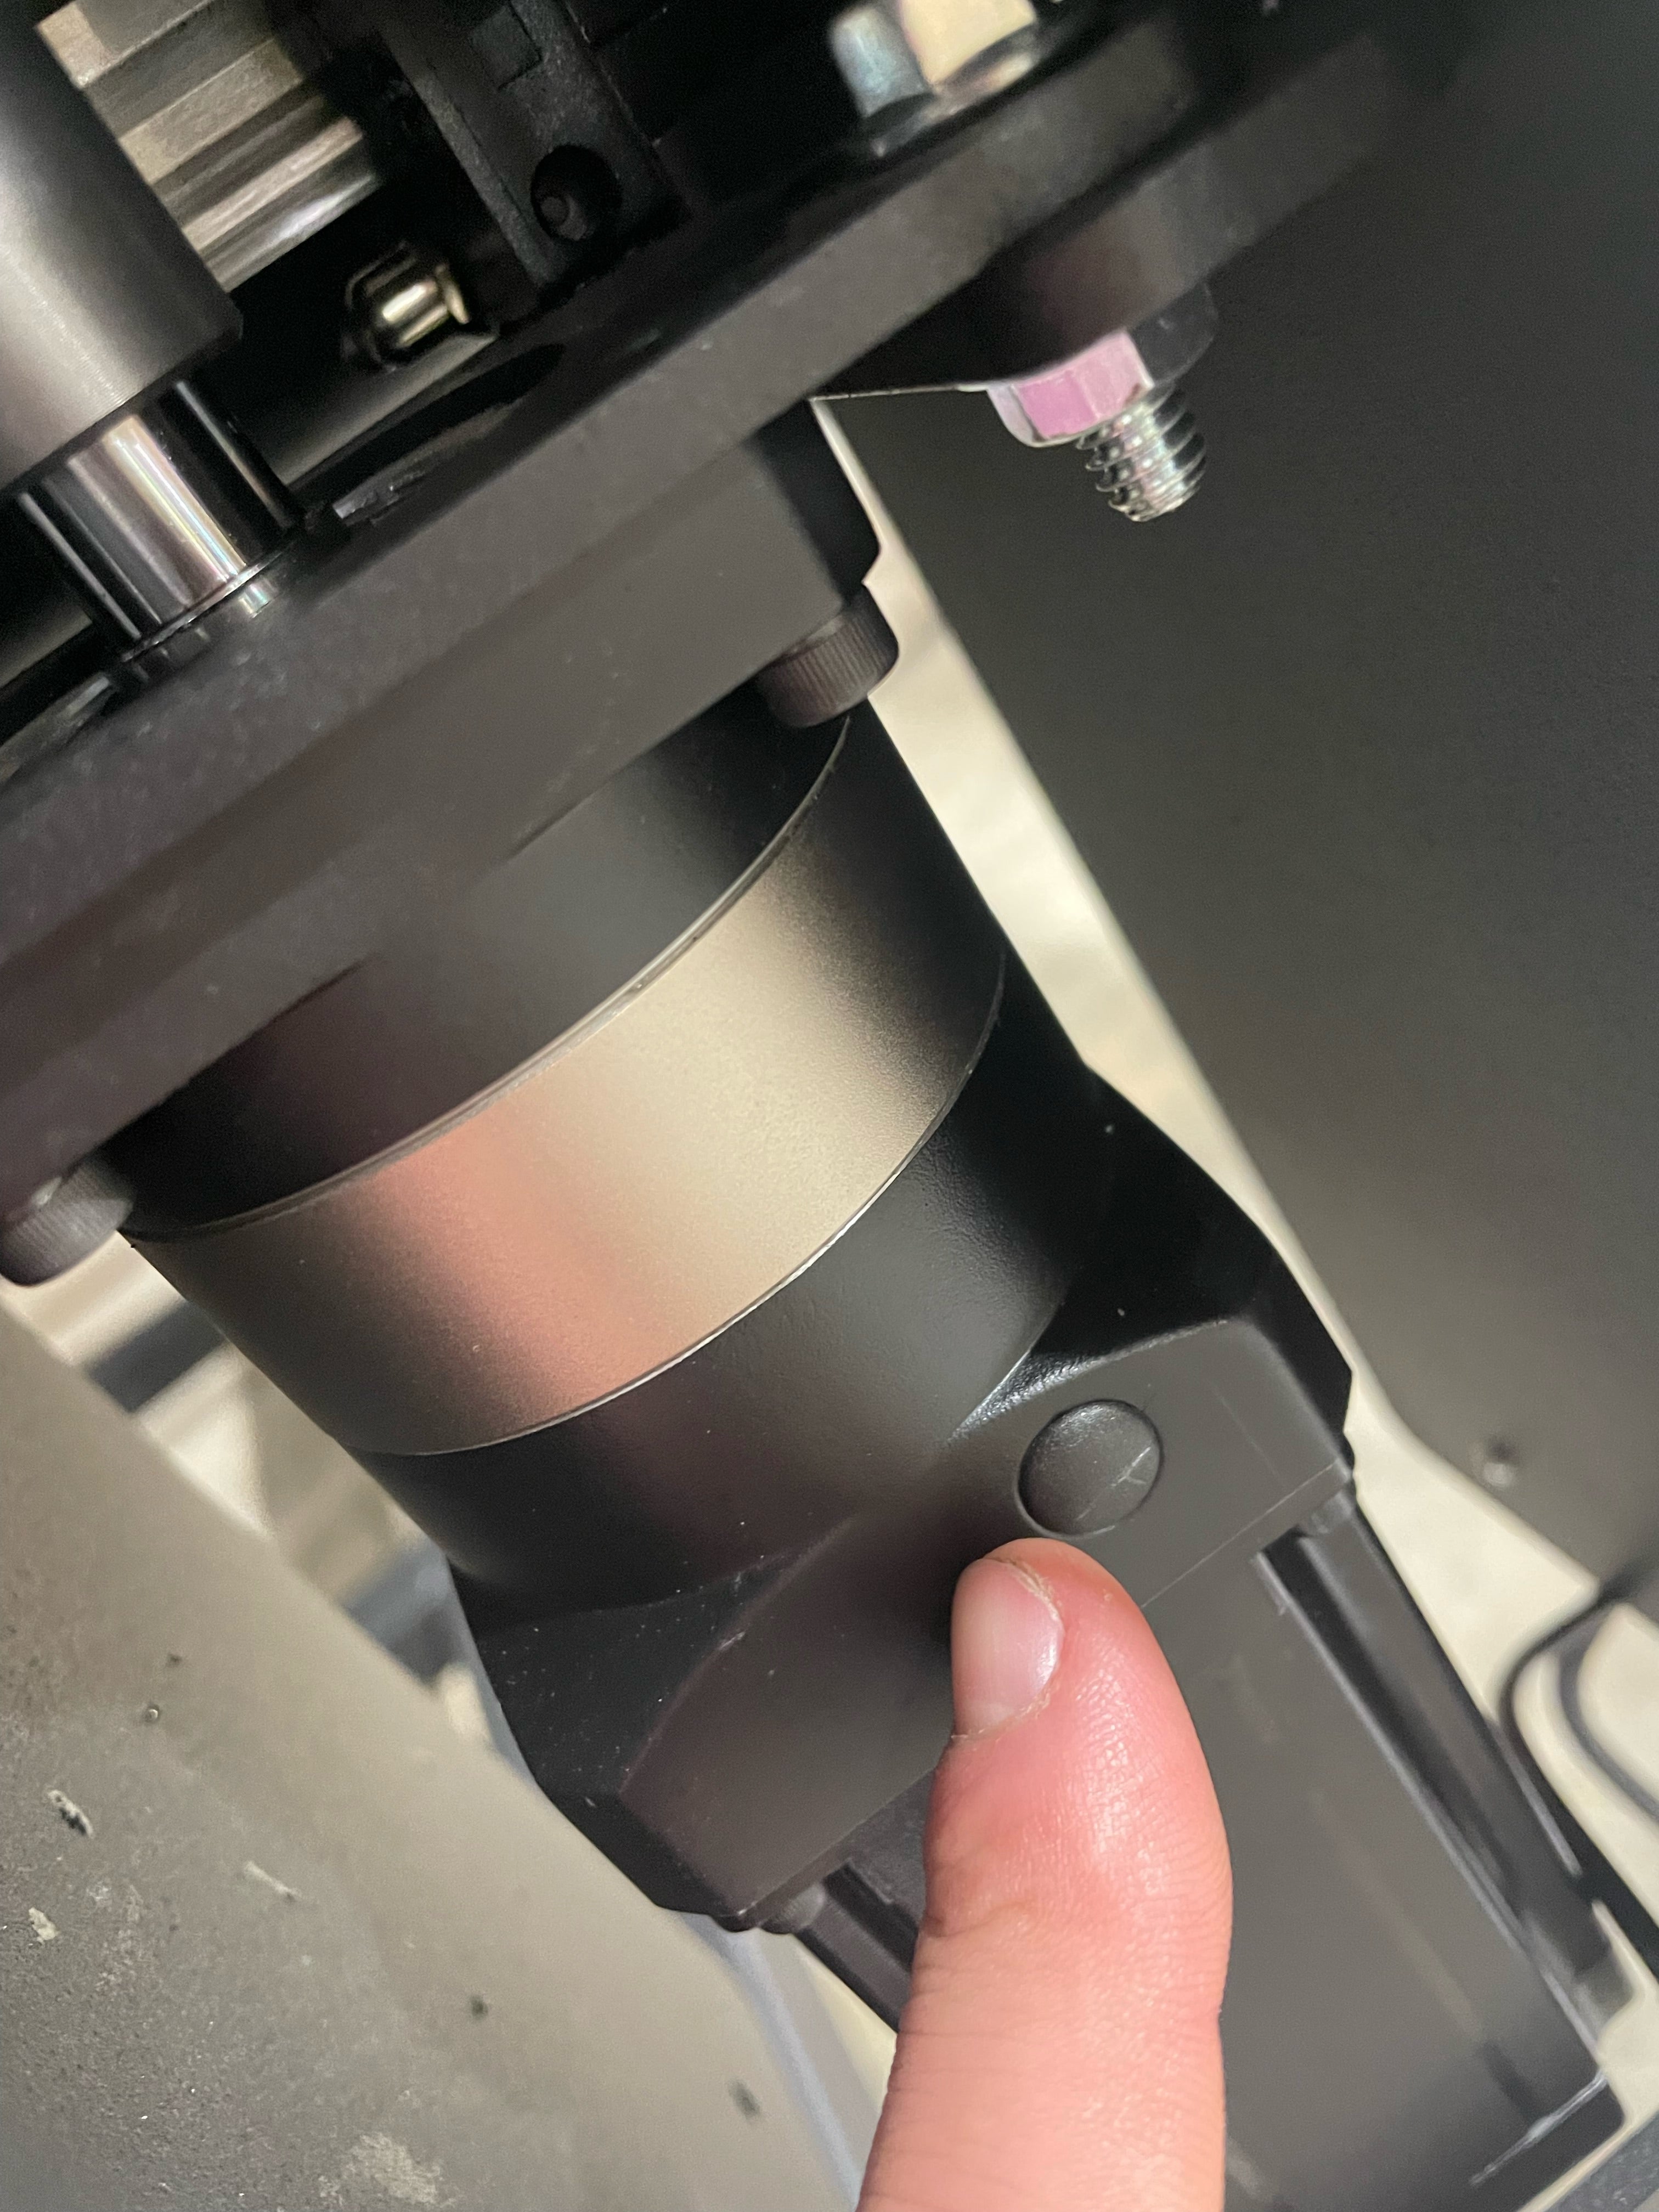
Make sure the x and y internal planetary lock collar bolt is tight
On the planetary's x and y, there are little black plastic caps that can be removed. When removed (with the machine off), you can move the x carriage or gantry back and forth by hand to spin the planetary (internally). Shine a light in the hole and move the gantry or x carriage back and forth until the head of the bolt internally aligns with the hole. Insert a 5/32 allen key to tighten the bolt.
-
If you still get slipping or poor cutting, please contact us.


Planet CNC TNG Controller Disconecting
The controller can disconnect for a few reasons. Mostly though it's caused by electrical interference on the ground. We have taken many precautions to battle electrical interference but here are some things you can do to set yourself up to not have this issue.
- Make sure your controller, laptop, and VFD are on separate electrical circuits.
- Make sure your wires are not looped or tangled
- Make sure your electoral system has a good ground, if your facility's ground is not very good you may need to drive a ground rod near the table to ground the frame of the table.
Make sure you are not using a long usb cord
- If you still have disconnection issue you can try a usb opto isolator or a noise filtering power strip (link bellow)